Adding Document Borders in Microsoft Word 2010
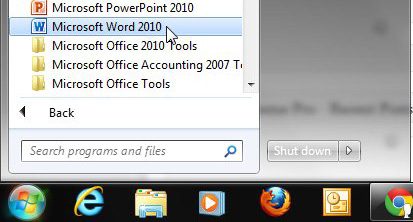
You can add your document borders at any time during the document creation process, so this procedure can be done when you are formatting the document before you begin writing, or it can be performed when the document is otherwise completed. With that in mind, open Microsoft Word by clicking the Start button at the bottom-left corner of your computer screen, click All Programs, click the Microsoft Office folder, then click Microsoft Word. (If you have not already done so, consider adding a Word icon to your Windows 7 taskbar using the procedure described in this article.)
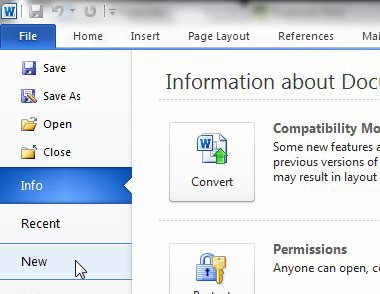
Click the orange File tab at the top-left corner of the window, then click New to create a new document from scratch, or click Open to work with a document that you have already created.
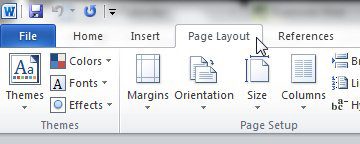
If this is your first time using Microsoft Word, or if you have not used a Microsoft Word version since Word 2003, then the layout of the program at the top of the window might seem a little foreign. The navigation system is now laid out as a ribbon, where all of the Word utilities and formatting tools are organized into tabs. The page layout tools, such as those you need to customize document borders, are included under the Page Layout tab at the top of the window, so go ahead and click that tab.
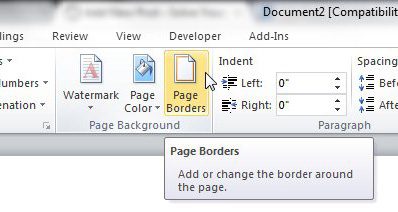
The Page Layout tab is organized into a series of sections, and the section containing our desired tool is labeled as the Page Background section. Click the Page Borders link in the Page Background section to proceed.
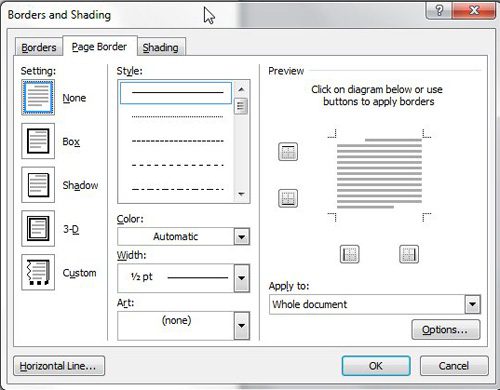
You should now have a Borders and Shading window open on your screen, and the Page Border tab at the top of the window should be selected. The options on this page are everything that you will need to create your document borders. Under the Setting section at the left side of the window are the options for the general layout of the border. As you click each of these options, you will notice that the preview section at the right side of the window changes. Once you have made your choice in the Setting section, you can further customize your document borders by selecting options in the Style, Color, Width, and Art menus. You can also click the drop-down menu under Apply to at the right side of the window to specify which portion of your document should include document borders. Finally, if you need to make any changes to the border margins, you can click the Options button to set those.
Once all of your settings have been selected, click the OK button at the bottom of the window to apply the document border settings to your project. After receiving his Bachelor’s and Master’s degrees in Computer Science he spent several years working in IT management for small businesses. However, he now works full time writing content online and creating websites. His main writing topics include iPhones, Microsoft Office, Google Apps, Android, and Photoshop, but he has also written about many other tech topics as well. Read his full bio here.
You may opt out at any time. Read our Privacy Policy