But when you need to put some of your text at the bottom or middle of the page, you might notice that there aren’t buttons to do that, too. This option is available for your Word documents, but you will need to find it in a different place, which we will show you in the tutorial below.
How to Change Vertical Alignment in Word 2013
Out guide continues below with additional information on how to set your Word document’s vertical alignment, including pictures of these steps. Learning how to change vertical alignment in Word 2013 is an effective way to alter the visual appearance of your document. As you are learning how to center text in Word you will discover that there are actually a handful of different ways that you can accomplish this. Our article below will instruct you on how to find the vertical alignment setting for your Word 2013 document. This setting will only apply for the current document, so you will need to change it on any other documents for which you wish to modify the vertical alignment. Have you been looking for a fast, affordable and reliable printer? The Brother HL-2270DW has been one of the best black and white laser printers on the market for a while. You have several alignment options that will allow you to customize the appearance of your document to meet your needs., so you can pick which one of these options is most appropriate for your situation. For additional information on this topic you can read our tutorial on how to vertically center text in Word.
How to Set Vertical Alignment in Word 2013 (Guide with Pictures)
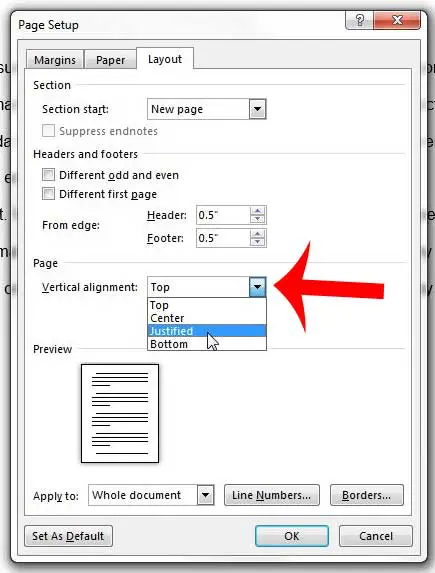
You are going to have the option of aligning your document with either the Top, Center, Justified, or Bottom option. The default option is Top, which means that the information in your document will automatically be aligned with the top of the document. You can experiment with each of the other options until you achieve your desired page appearance.
Step 1: Open your document in Word 2013.
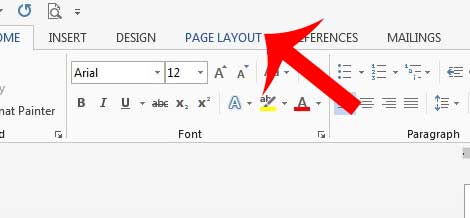
Step 2: Click the Page Layout tab at the top of the window.
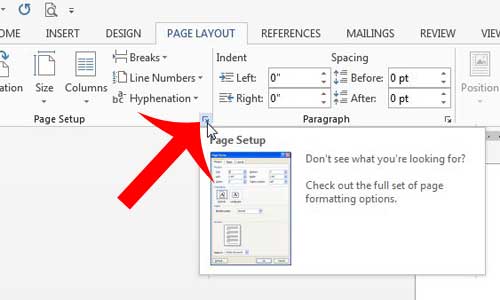
Step 3: Click the Page Setup button at the bottom-right corner of the Page Setup section of the navigational ribbon.
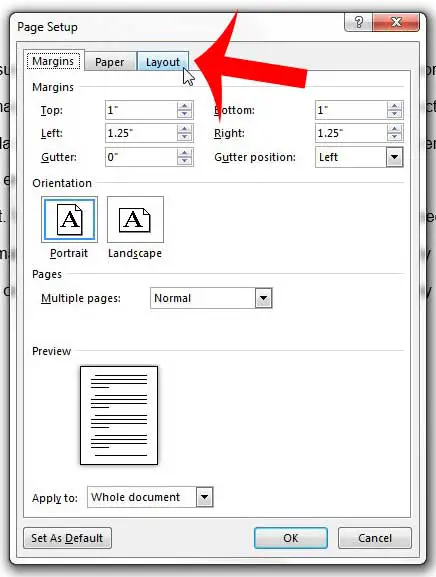
Step 4: Click the Layout tab at the top of the window.
Step 5: Click the drop-down menu to the right of Vertical Alignment, then select your preferred vertical alignment option.
Step 6: Click OK at the bottom of the window to close this window and apply your changes.
Now that you know how ot change the vertical alignment for a document in Microsoft Word you will be able to use this setting whenever you have text that needs to go somewhere other than the top of the page. Click here to visit Microsoft’s website and learn more about Word 2013. Do you often need to add filler text to your documents for layout purposes? Learn about the fastest way to add Latin text in Word 2013.
Additional Sources
After receiving his Bachelor’s and Master’s degrees in Computer Science he spent several years working in IT management for small businesses. However, he now works full time writing content online and creating websites. His main writing topics include iPhones, Microsoft Office, Google Apps, Android, and Photoshop, but he has also written about many other tech topics as well. Read his full bio here.
You may opt out at any time. Read our Privacy Policy