Many of these images are just normal pictures that were shot very well, while others use filters to achieve an interesting look. Our tutorial below will show you how to apply a filter to a picture on your iPhone using a set of editing tools you can find in the Photos app.
Summary – How to Apply an iPhone Picture Filter
Our guide continues below with additional information on how to add a filter to a picture on the iPhone, including pictures of these steps. Learning how to add a filter to a picture on the iPhone 5 can give you some interesting options for stylizing your pictures. We have previously written about how to add the filter to the picture as it was being taken, but you also have the option of adding a filter to a picture that you have already stored on your device. A filter can be added to any picture that you have saved to a picture album in your Photos app, which means that you can use them for pictures in your Photo Stream, or for pictures that you have downloaded from a website or received as a picture message. Related Topic: You can make the navigation in the Settings app more prominent by visiting this iPhone button shapes guide and following the steps there.
How to Add a Filter to an iPhone 5 Picture (Guide with Pictures)
The option to add a filter to your iPhone pictures is only available on devices that have been updated to iOS 7. If your phone looks different than the screenshots below, then you may not have updated to iOS 7 yet, or your device might not be compatible. You can learn more about iOS 7 compatibility here. Adding a filter to one of your pictures will overwrite the original copy of the picture. If you still want to have a copy of the original picture, then you will need to email it to yourself or save it somewhere other than your Camera Roll before you follow the steps below to apply the photo filter.
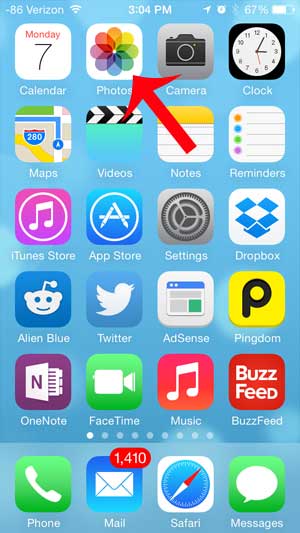
Step 1: Open the Photos app.
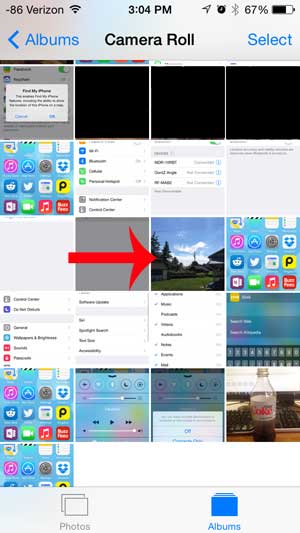
Step 2: Open the picture to which you want to apply the filter.
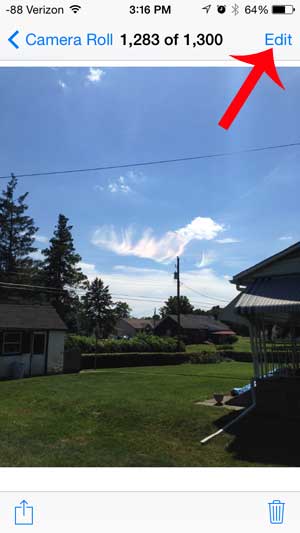
Step 3: Tap the Edit button at the top-right corner of the screen.
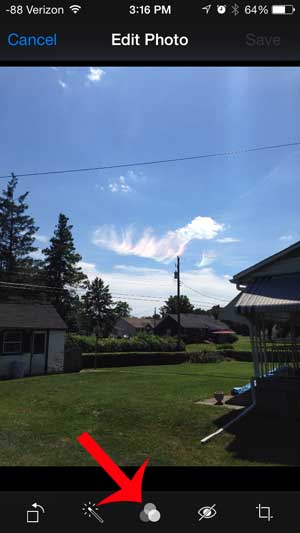
Step 4: Touch the icon with the three circles at the bottom of the screen.
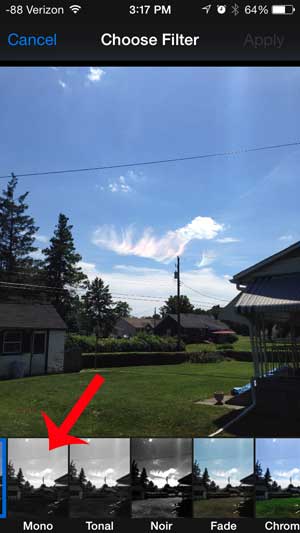
Step 5: Select the filter that you want to use.
Note that there are more options available by swiping to the left on the row of thumbnails at the bottom of the screen.
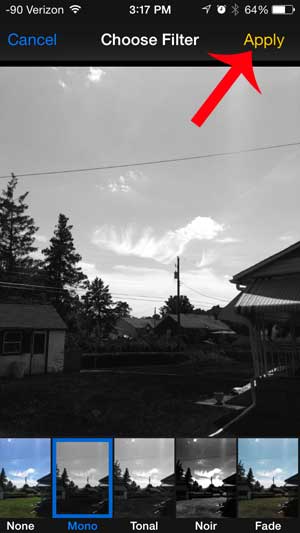
Step 6: Touch the Apply button at the top-right of the screen.
Step 7: Touch the Save button.
Your image is now saved to your Camera Roll with the filter that you just applied. Now that you know how to apply a filter to an iPhone picture you will be able to get creative with the images that you have saved to your Photos app. There are other picture editing tools available on the iPhone, including one that lets you crop your iPhone pictures. There is a lot that you can do to your pictures on an iPhone using the default tools, so it’s worth taking some time to experiment with them to see what you can achieve. After receiving his Bachelor’s and Master’s degrees in Computer Science he spent several years working in IT management for small businesses. However, he now works full time writing content online and creating websites. His main writing topics include iPhones, Microsoft Office, Google Apps, Android, and Photoshop, but he has also written about many other tech topics as well. Read his full bio here.
You may opt out at any time. Read our Privacy Policy