Fortunately this option is available in Google Docs, and you have a few different ways that you can customize your columns. So continue reading below to see how to add and format columns in a Google Docs document.
How to Change the Number of Columns in Google Docs
The steps in this article were performed in the Web browser version of Google Docs, specifically the version in Google Chrome. Following these steps will show you how to adjust the number of columns in your document. This may cause some pictures to be resized, as well as other elements that might be too large for a single column. Step 1: Go to your Google Drive at https://drive.google.com/drive/my-drive and open the document for which you would like to add or remove some columns. Step 2: Click the Format tab at the top of the window.
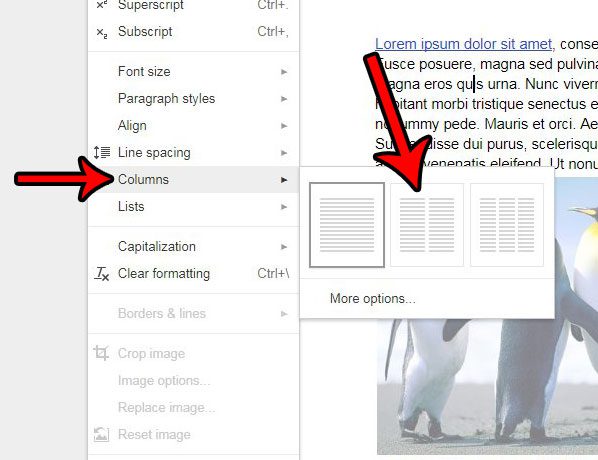
Step 3: Select the icon that represents the number of columns you would like to use in your document.
If you don’t want to use one of those options, click the More options button. There you will have the ability to choose the number of columns, the spacing between those columns, and whether or not you use a line to separate the columns.
Does your school or job require you to use page numbers in the documents you write? Learn how to add page numbers in Google Docs so that you can meet those requirements. After receiving his Bachelor’s and Master’s degrees in Computer Science he spent several years working in IT management for small businesses. However, he now works full time writing content online and creating websites. His main writing topics include iPhones, Microsoft Office, Google Apps, Android, and Photoshop, but he has also written about many other tech topics as well. Read his full bio here.
You may opt out at any time. Read our Privacy Policy