There is an additional ribbon tab that you can enable in Outlook 2013 called the Developer tab. This provides access to additional tools and features that can let you accomplish even more. Our tutorial below will show you how to find and enable the Developer tab.
How to Show the Developer Tab in Outlook 2013
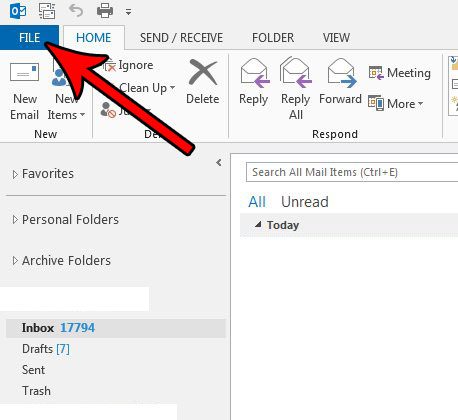
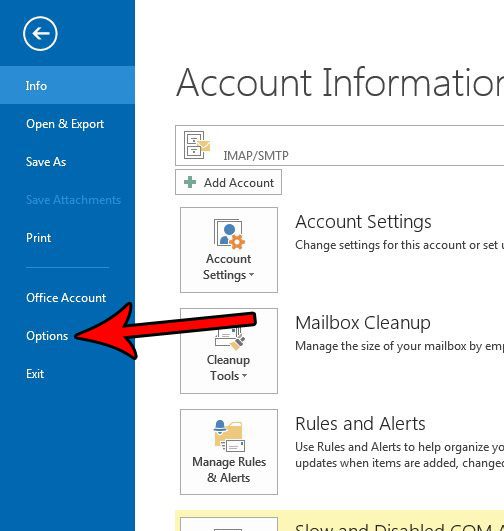
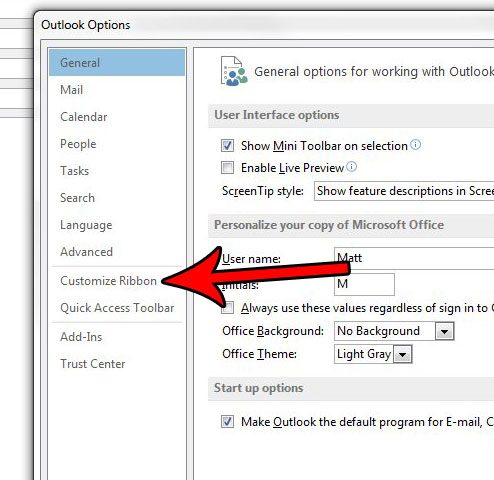
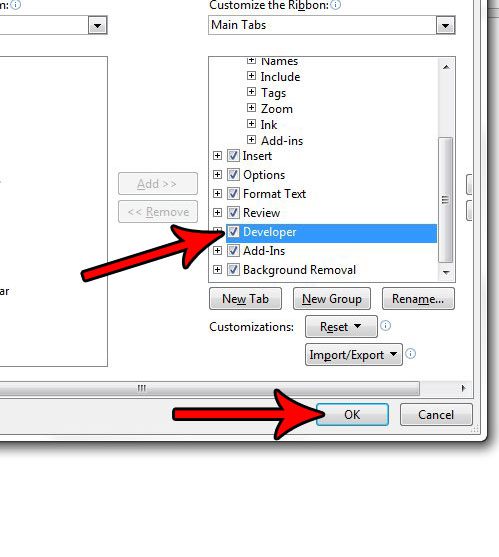
The steps in this article are going to show you how to enable the Developer tab in Microsoft Outlook 2013. This gives you access to some of the more advanced tools in Outlook, such as the ability to use macros to perform certain actions. While the process for adding the Developer tab is very similar in other Office programs, you will need to repeat this step in each of those individual applications if you also wish to use the Developer tools there. Step 1: Open Outlook 2013. Step 2: Click the File tab at the top-left corner of the window. Step 3: Select the Options button at the bottom of the column on the left side of the ribbon. Step 4: Choose the Customize Ribbon tab at the left side of the Outlook Options window. Step 5: Scroll to the bottom of the rightmost column, then check the box to the left of Developer. You can then click the OK button at the bottom of the window to apply the change. The Developer tab should now be visible above the ribbon. One of the most common complaints about Outlook is that it doesn’t seem to download new emails often enough. Find out how to change the send and receive frequency and start checking for new messages at a more frequent interval. After receiving his Bachelor’s and Master’s degrees in Computer Science he spent several years working in IT management for small businesses. However, he now works full time writing content online and creating websites. His main writing topics include iPhones, Microsoft Office, Google Apps, Android, and Photoshop, but he has also written about many other tech topics as well. Read his full bio here.
You may opt out at any time. Read our Privacy Policy


