Create a Manual Backup in OneNote 2013
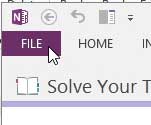
In the final step below, when you’re on the OneNote Backup menu, you are going to see a bunch of options that will allow you to configure your backups. Everyone’s preferences are different, but this is a good time to consider establishing your backup method. Since it’s usually not a good idea to back up data to the same hard drive, consider purchasing an external hard drive and setting that as your backup location. Step 1: Launch OneNote 2013. Step 2: Click File at the top-left corner of the window.
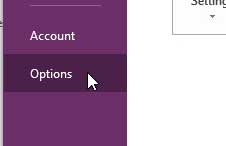
Step 2: Click Options in the column at the left side of the window.
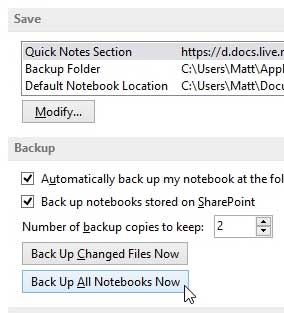
Step 3: Click the Save & Backup option in the column at the left side of the window.
Step 4: Click the Back Up All Notebooks Now button to generate the backup. Note that it will go to the location specified at the top of the window.
You can click here to read additional articles about other Office 2013 programs, such as Excel 2013 or Outlook 2013. After receiving his Bachelor’s and Master’s degrees in Computer Science he spent several years working in IT management for small businesses. However, he now works full time writing content online and creating websites. His main writing topics include iPhones, Microsoft Office, Google Apps, Android, and Photoshop, but he has also written about many other tech topics as well. Read his full bio here.