Many Word users will take this approach since there isn’t an obvious way to position text at the bottom of a document. But this can cause problems later, as each of the line breaks that you add when you press Enter are technically part of the document, which means that your positioning could be affected if you add more content. Our tutorial below will show you another way to vertically align text to the bottom of the page in Microsoft Word.
How to Put Text at the Bottom in a Word Document
Our guide continues below with additional information on how ot align some of the text on one of your pages to the bottom of the page, including pictures of these steps. You can also check out our Word center text vertically guide for more information on putting text in the middle of the page. New documents that you create in Microsoft Word will align your content to the top of the page by default. This means that when you start typing, the text will appear on the top-most line in the document. This is a very common requirement for most documents, and many people find this to be the setting that they need. But you may occasionally encounter a situation where you need your text to align to the bottom of the page. This means that your typing will appear on the bottom-most line in the document, then will move up a line as you add more text. Our guide below will show you how to switch to bottom align in Microsoft Word by changing the vertical alignment setting found on the Page Setup menu. If you use Microsoft’s speech-to-text feature, then our change read aloud voice in Word guide can show you how to change the voice that it uses.
How to Align to the Bottom of the Page in Microsoft Word (Guide with Pictures)
The steps in this article were performed in Microsoft Word for Office 365, but will work in most other recent versions of Microsoft Word as well.
Step 1: Open the document in Word.
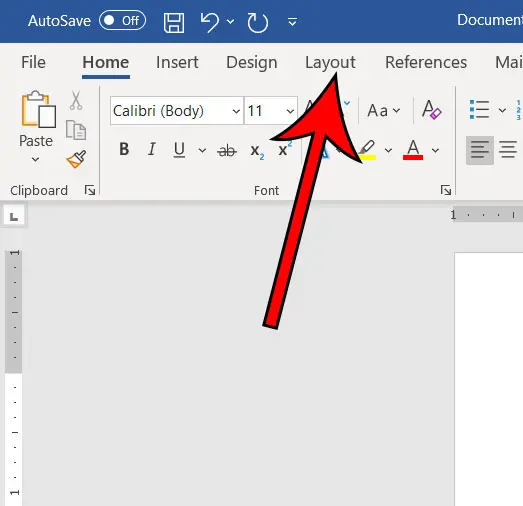
Step 2: Select the Layout tab at the top of the window.
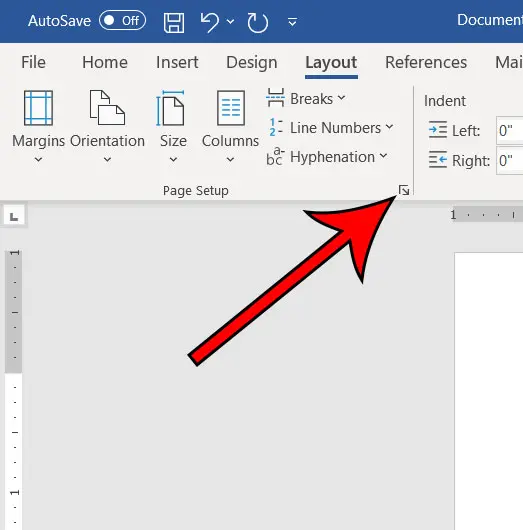
Step 3: Click the small Page Setup button at the bottom-right of the Page Setup section of the ribbon.
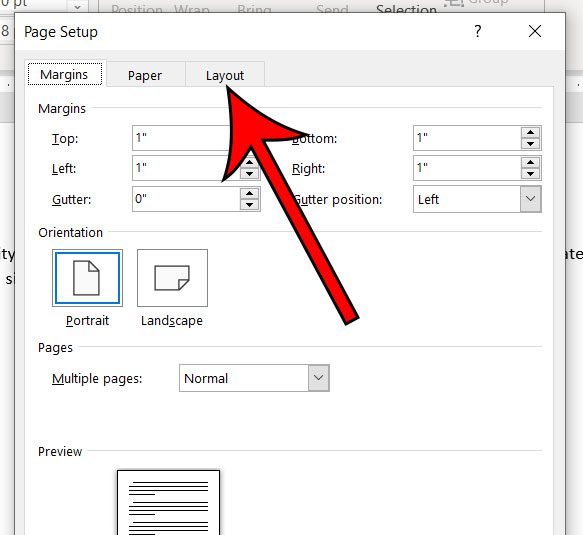
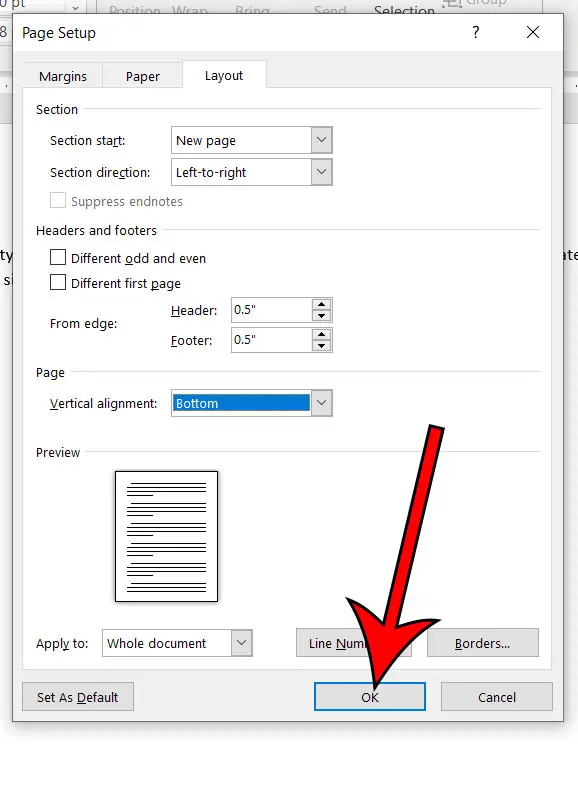
Step 4: Choose the Layout tab at the top of the window.
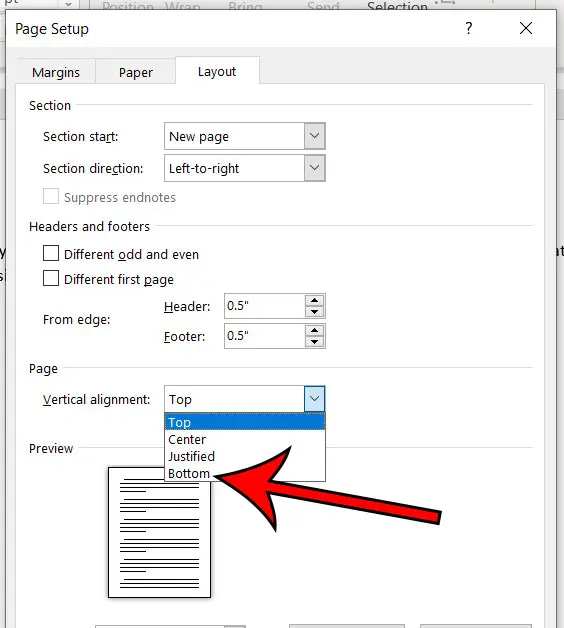
Step 5: Click the Vertical alignment dropdown menu and choose the Bottom option.
Step 6: Click OK to apply the change.
Now you should see that your document content is aligned at the bottom of the page instead of the top. Now that you know how ot position text on the bottom of the page in Microsoft Word documents you will be able ot quickly adjust the vertical position of some of the text on a page if you need it at the bottom instead of the top.
Additional Sources
How to insert a check mark in Microsoft WordHow to do small caps in Microsoft WordHow to center text in Microsoft WordHow to merge cells in Microsoft Word tablesHow to insert a square root symbol in Microsoft Word
After receiving his Bachelor’s and Master’s degrees in Computer Science he spent several years working in IT management for small businesses. However, he now works full time writing content online and creating websites. His main writing topics include iPhones, Microsoft Office, Google Apps, Android, and Photoshop, but he has also written about many other tech topics as well. Read his full bio here.
You may opt out at any time. Read our Privacy Policy