Configure Windows Live Mail Port Settings
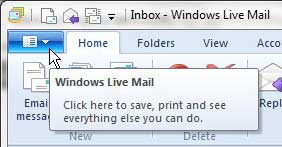
if you have ever set up an email account on a smartphone or in Microsoft Outlook before, then you are probably somewhat familiar with the terminology that is needed to correctly configure the account. Port settings are an important setting in this context and, if you have set up the account with the wrong ports, then you might have difficulty using the program effectively. Step 1: Launch Windows Live Mail. Step 2: Click the blue Windows Live Mail tab at the top-left corner of the window.
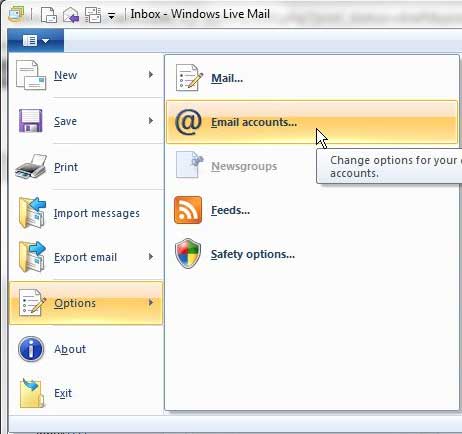
Step 3: Click Options, then click Email accounts.
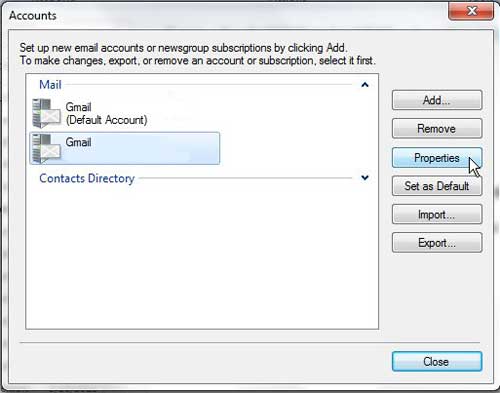
Step 4: Click the account you need to edit from the list at the center of the window, then click the Properties button.
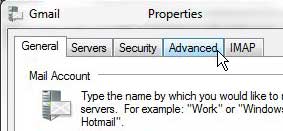
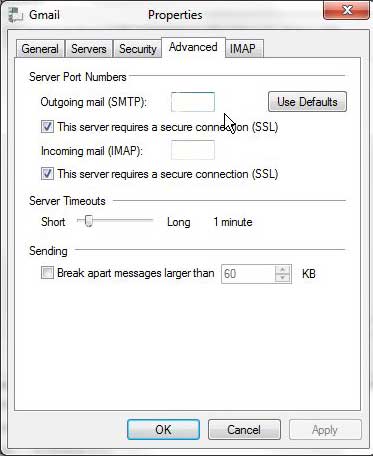
Step 5: Click the Advanced tab at the top of the window.
Step 6: Type the correct port numbers into their respective fields.
Step 7: Click the Apply button, then click the OK button. After receiving his Bachelor’s and Master’s degrees in Computer Science he spent several years working in IT management for small businesses. However, he now works full time writing content online and creating websites. His main writing topics include iPhones, Microsoft Office, Google Apps, Android, and Photoshop, but he has also written about many other tech topics as well. Read his full bio here.
You may opt out at any time. Read our Privacy Policy