Or maybe it just doesn’t look good or match the font of the other spreadsheets that you create. Regardless of the reason why you may not like the current font, you have the ability to switch to a different one. Our tutorial below will show you how to change the font in Microsoft Excel by selecting your cells and then applying a different font to those cells.
How to Apply a Different Font to Cells in Excel
Our guide continues below with additional information on how to change cell font in Microsoft Excel, including pictures of these steps. Different people have different preferences for how they want to view data on their computer screens. So if you have an Excel worksheet that is difficult to read, you can change the font to improve your experience. But the Excel 2013 interface can be difficult to work with when you want to change something about your font, especially if someone else has already added formatting to the cells. So follow our guide below to learn how to change the font of an entire worksheet.
Changing the Cell Font for a Worksheet in Excel 2013 (Guide with Pictures)
The steps below will teach you how to change the font for every cell in your worksheet. You can, however, simply select a single column or row, or group of cells, if you only want to change the font for part of the worksheet. Click the column letter or row number to select that entire group of cells, or click your mouse and drag it to select a specific group of cells.
Step 1: Open the Excel worksheet with the font that you want to change.
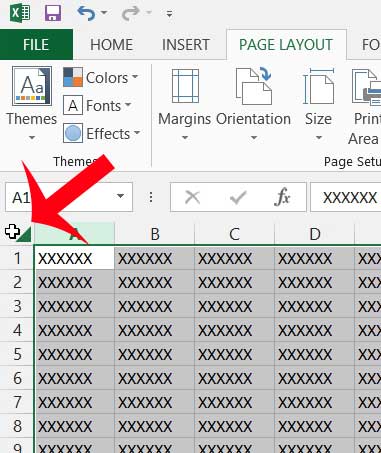
Step 2: Click the gray button at the top-left corner of the worksheet to select the entire worksheet.
If you only want to change the font for some of the cells in your spreadsheet then you can select only those cells by clicking and holding on one then dragging to select the rest.
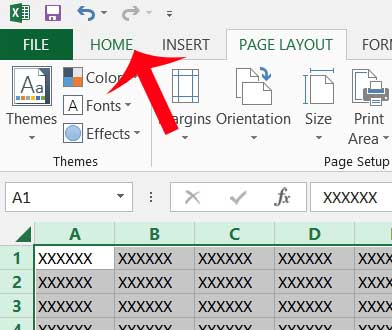
Step 3: Click the Home tab at the top of the window.
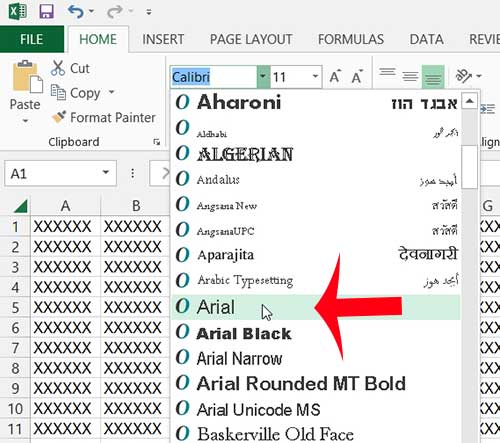
Step 4: Click the Font drop-down menu in the Font section of the navigational ribbon, then select the desired font.
The font of all of your selected cells will switch to the font you selected. Note that you can also elect to change the font size and color as well. Now that you know how ot change the font for a cell in Microsoft Excel you will be able to start customizing the content in your spreadsheets to make it look better and easier to read. If you find that you are unable to change the font or a worksheet that was created by someone else, it may be because they have added protection to the worksheet. You will need to get the password for the file, or you will need to copy and paste the contents of the worksheet into a new worksheet to modify it. Do you want to change the default font in Excel 2013? This article will teach you the steps you need to follow in order to do so.
Additional Sources
After receiving his Bachelor’s and Master’s degrees in Computer Science he spent several years working in IT management for small businesses. However, he now works full time writing content online and creating websites. His main writing topics include iPhones, Microsoft Office, Google Apps, Android, and Photoshop, but he has also written about many other tech topics as well. Read his full bio here.
You may opt out at any time. Read our Privacy Policy