Fortunately the fingerprints on your iPhone are not set in stone, and you can update or remove them as needed.
Below are the steps needed to remove or update a Touch ID fingerprint on an iPhone in iOS 9 –
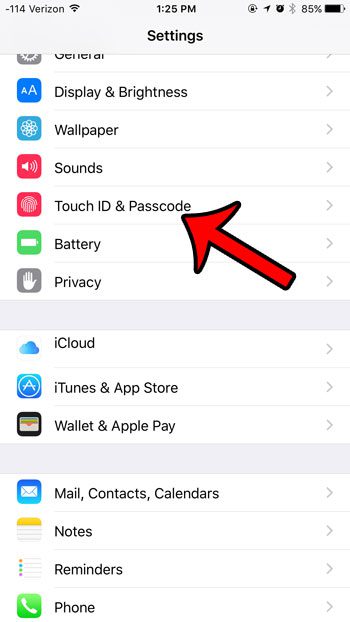
These steps are repeated below with pictures – Step 1: Tap the Settings icon.
Step 2: Open the Touch ID & Passcode menu.
Step 3: Enter your device passcode, if prompted.
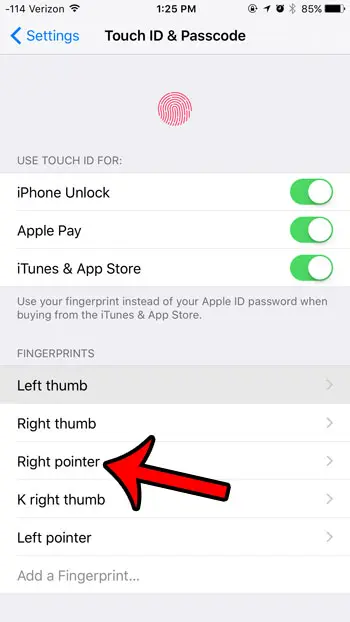
Step 4: Tap the listing for the fingerprint that you wish to update.
Step 5: Delete and enter a new name for the fingerprint, if that is what you wish to update. However, if you wish to delete or update the fingerprint itself, then tap the Delete Fingerprint button. If you simply wished to delete the fingerprint, then you are done. If you wish to re-add the same fingerprint or a new one, then continue below.
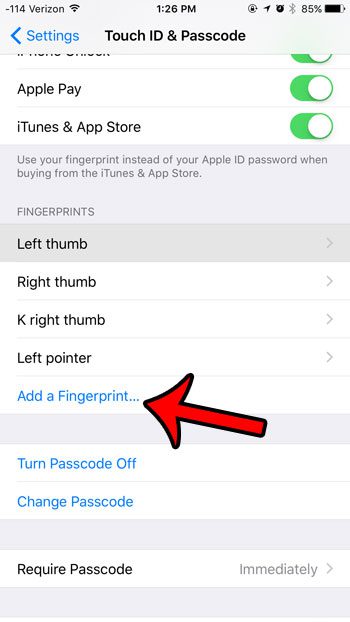
Step 6: Tap the Add a Fingerprint button.
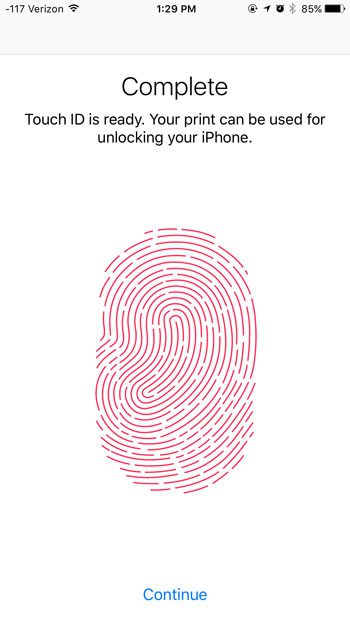
Step 7: Place and lift your finger on the Touch ID sensor as instructed. Your iPhone will let you know once it has enough information to complete the fingerprint entry.
Would you like to change the passcode on your iPhone, or switch to a different passcode format? Learn how with this article. After receiving his Bachelor’s and Master’s degrees in Computer Science he spent several years working in IT management for small businesses. However, he now works full time writing content online and creating websites. His main writing topics include iPhones, Microsoft Office, Google Apps, Android, and Photoshop, but he has also written about many other tech topics as well. Read his full bio here.
You may opt out at any time. Read our Privacy Policy