Connect the MFC-J4510DW to Wireless
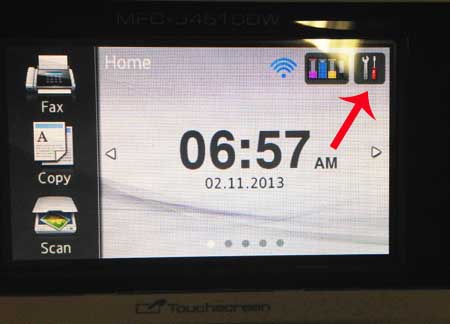
Note that this tutorial will assume that you have the name and password for your wireless network. You will also need to be in range of the wireless network to complete the setup using the steps below. Step 1: Touch the Tools icon at the top-right corner of the touch screen.
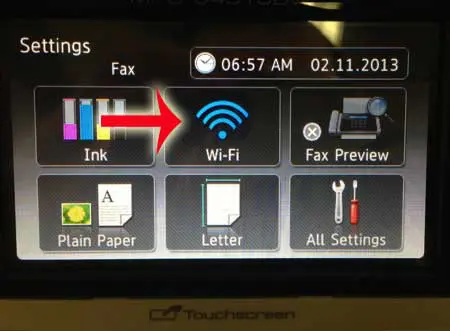
Step 2: Touch the Wi-Fi button at the center of the screen.
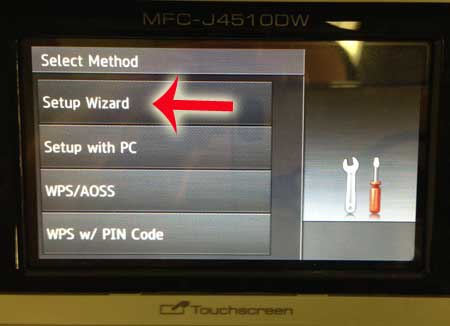
Step 3: Touch the Setup Wizard option.
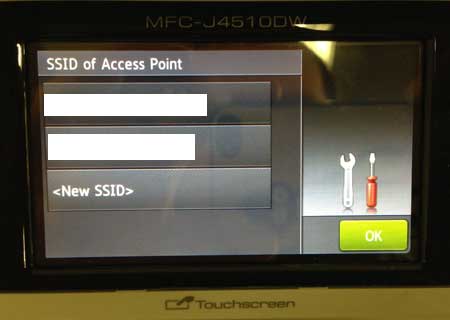
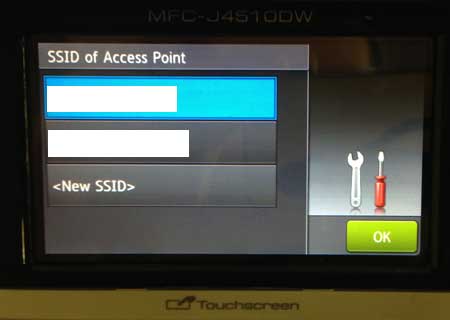
Step 4: Select the name of the wireless network to which you want to connect the printer.
Step 5: Touch the OK button.
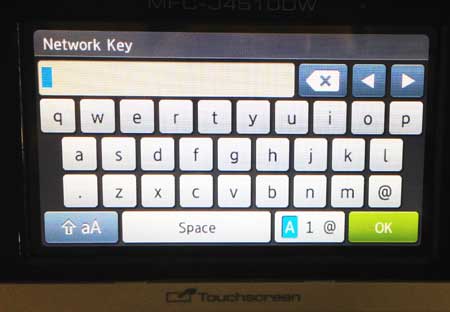
Step 6: Enter the password, then touch the OK button at the bottom-right corner of the screen.
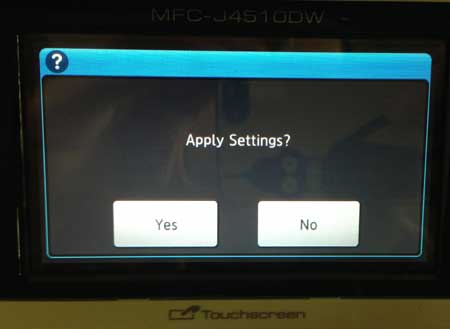
Step 7: Touch the Yes button to apply the settings.
Step 8: You will see the screen below when you are connected to the network.
The starter ink cartridges that come with the printer will not last very long if you are doing a lot of printing. Order some replacement cartridges today so that you have them when you need them. After receiving his Bachelor’s and Master’s degrees in Computer Science he spent several years working in IT management for small businesses. However, he now works full time writing content online and creating websites. His main writing topics include iPhones, Microsoft Office, Google Apps, Android, and Photoshop, but he has also written about many other tech topics as well. Read his full bio here.
You may opt out at any time. Read our Privacy Policy