Fortunately, wireless printers are becoming more common, such as the Officejet 6700. Our tutorial below will show you how to set it up on your Wi-Fi network so that you can easily print documents without needing to connect it directly to your laptop or desktop computer.
Summary – How to Set Up an HP Officejet 6700 on Wi-Fi
Our guide continues below with additional information on how to connect the Officejet 6700 to a wireless network, including pictures of these steps. The HP Officejet 6700 is one of the best all-in-one printers that I have used recently, and a lot of that has to do with the ease with which it can be used wirelessly. Much like the Photosmart 6510 that we previously wrote about, the Officejet 6700 can be connected to a wireless network directly from the touchscreen control panel on the printer. This will allow you to easily find the printer from a Windows or Mac computer and makes for one of the quickest possible setups of a printer that is capable of AirPrint. So continue reading below to learn how to get your Officejet 6700 on your wireless network. Related Topic: If you are trying to use your iPhone on your network but you are having trouble finding it, then follow these how to change iPhone Bluetooth name steps to give it a more recognizable name.
How to Wirelessly Connect the Officejet 6700 (Guide with Pictures)
Note that we are going to stop this tutorial at the point where the Officejet 6700 is connected to your wireless network. Once you are ready to install the Officejet 6700 on a computer, you will need the disc that came with the printer, or you can download the drivers here. And since your Officejet 6700 is already connected to your wireless network, you won’t need a USB cable during the installation, which is the case for many other wireless printers. So collect your wireless network name and password, then follow the steps below to get your Officejet 6700 set up on your wireless network.
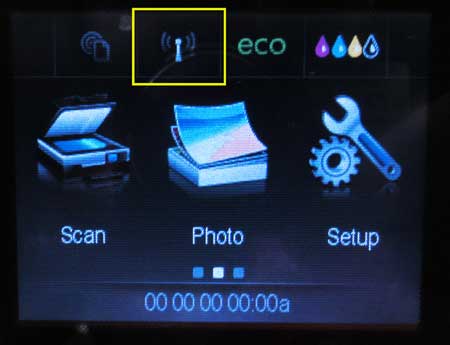
Step 1: Tap the wireless icon on the printer panel.
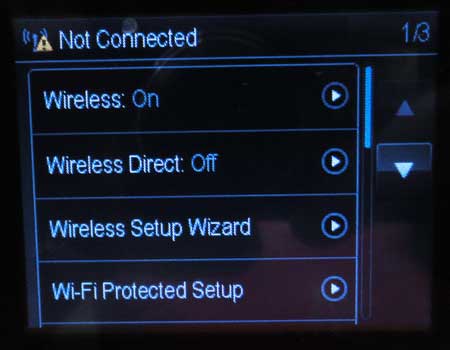
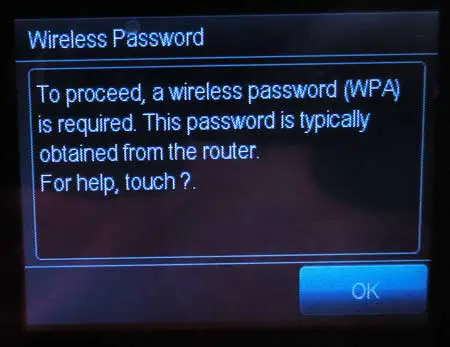
Step 2: Tap the OK button at the bottom-right corner of the panel.
Step 3: Select the Wireless Setup Wizard option.
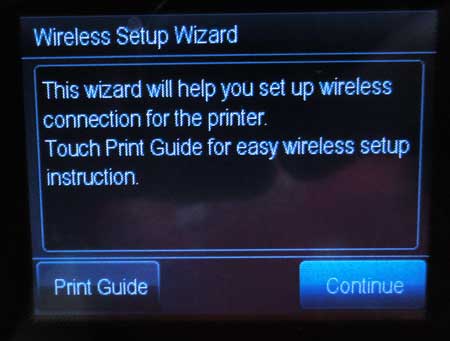
Step 4: Touch the Continue button at the bottom-right corner of the panel.
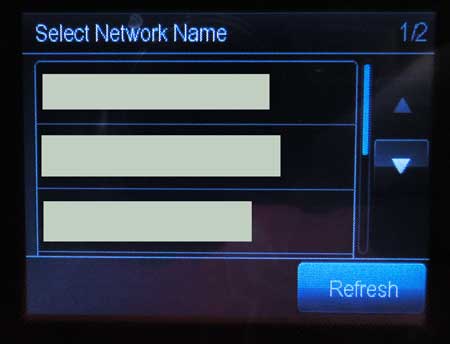
Step 5: Select your network from the list.
Step 6: Touch the OK button.
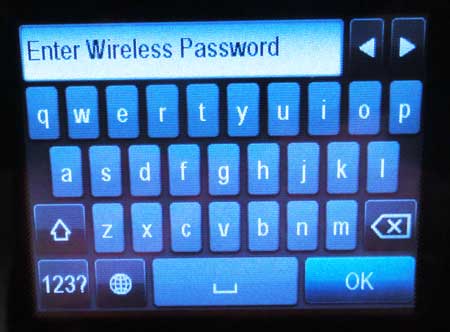
Step 7: Type your wireless network password, then touch the OK button.
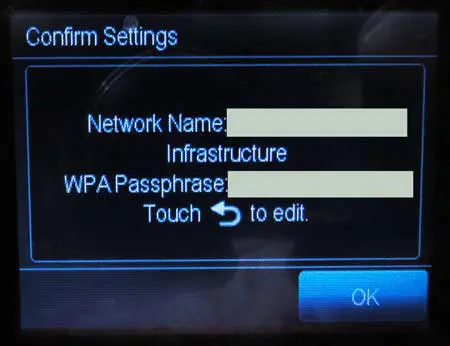
Step 8: Confirm that the wireless network name and password are correct.
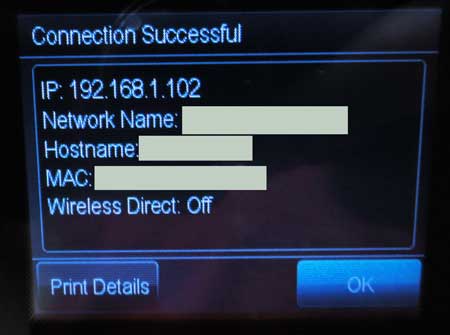
Step 9: You will now see a screen that says Connection Successful, and provides you with some information about the printer.
The IP Address info is particularly useful, and you will need it when you install the Officejet 6700 software on your computer. So consider writing it down so you can use it later. After receiving his Bachelor’s and Master’s degrees in Computer Science he spent several years working in IT management for small businesses. However, he now works full time writing content online and creating websites. His main writing topics include iPhones, Microsoft Office, Google Apps, Android, and Photoshop, but he has also written about many other tech topics as well. Read his full bio here.
You may opt out at any time. Read our Privacy Policy