The Disney + streaming service offers a low-cost way for you to watch some of your favorite movies and TV shows, both older classics and newer blockbusters. Each Disney + account allows for up to 4 devices to stream simultaneously, and your account can have up to 7 profiles. This means that each of the members of your family can have their own profile that remembers where they are in a series and recommends things to you based on what you’ve already watched. Our guide below if going to show you the short process needed for you to create a new profile directly from the Disney Plus app on your iPhone.
How to Create a Disney + Profile in the iPhone App
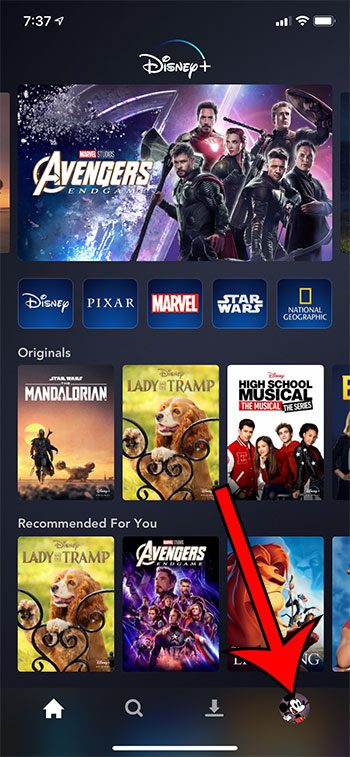
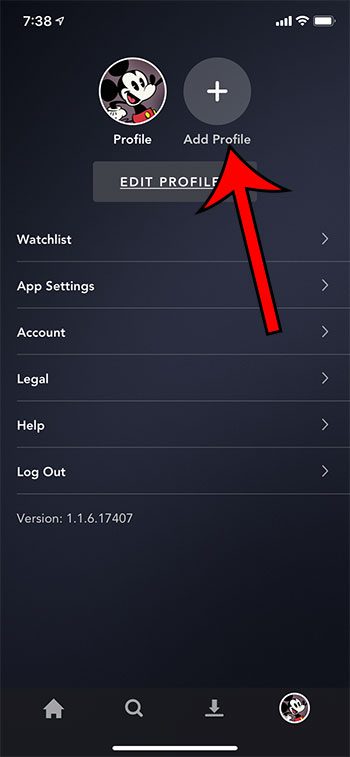
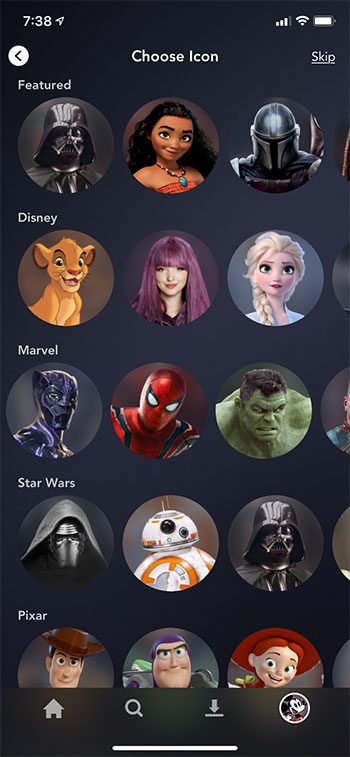
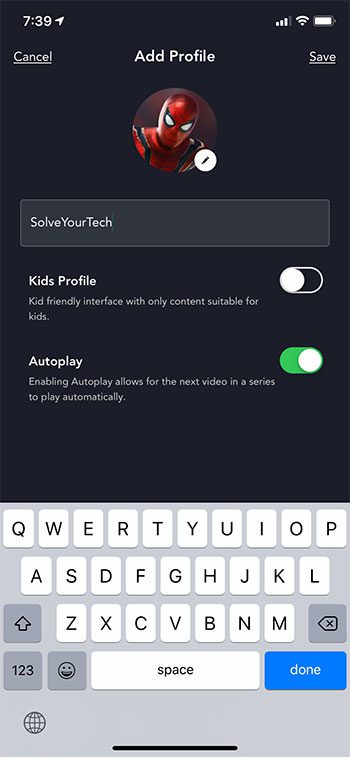
The steps in this article were performed on an iPhone 11 Plus in iOS 13.1.3, using the most current version of the Disney + app. This guide assumes that you have already signed up for a Disney + account. Step 1: Launch the Disney Plus iPhone app. Step 2: Choose the Account button at the bottom of the screen. Step 3: Tap the Add Profile icon. Step 4: Touch the image that you would like to use as your profile icon. Step 5: Enter a name for the profile, choose whether it’s a kids account and whether you want to enable autoplay, then tap the Save button at the top-right of the screen. Find out how to download a Disney + movie to your iPhone if you’re going on a trip or are going to be someplace without WiFi and you want to watch a movie without using all of your data. After receiving his Bachelor’s and Master’s degrees in Computer Science he spent several years working in IT management for small businesses. However, he now works full time writing content online and creating websites. His main writing topics include iPhones, Microsoft Office, Google Apps, Android, and Photoshop, but he has also written about many other tech topics as well. Read his full bio here.


