In many situations, this may not matter, but it is possible that you need to use the picture for something, and would like ot remove the unwanted part of the picture. While image editing tools like Photoshop or Microsoft Paint have a variety of tools to edit images, you can perform some basic edits directly on your iPhone. Our tutorial below will show you how to crop an iPhone photo from within the Photos app on the device.
How to Crop Pictures on an iPhone
Our guide continues below with additional information on how to crop a photo on an iPhone, including pictures of these steps. Cropping a picture is one of the most basic types of photo editing that you can do, so it’s important that any device or program that allows you to manage your images gives you that option. The iPhone 5 includes a cropping tool that offers the ability to crop the picture to a specific size or to use one of the pre-selected aspect ratios within the application. You can read below to learn how to crop a picture on your iPhone 5 in iOS 7.
Cropping iPhone Pictures (Guide with Pictures)
You will have the option of undoing the crop before you save the image, but the image will be permanently cropped once you elect to save it. If you think that you might need a copy of the unaltered image at some point in the future, then it’s a good idea to send the original image to yourself in an email. So once you are ready to crop your image, follow the steps below.
Step 1: Open the Photos application on your iPhone.
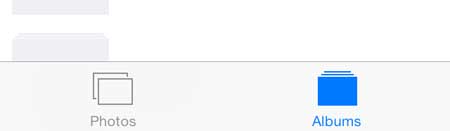
Step 2: Select the Albums or Photos option at the bottom of the screen, depending upon how you want to navigate to the image that you want to crop.
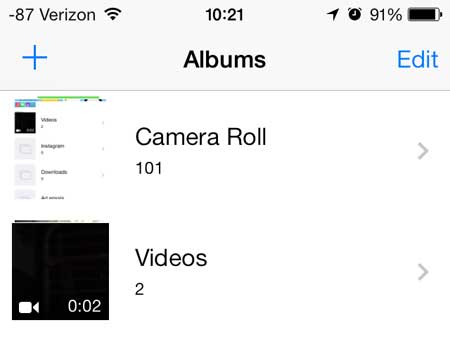
Step 3: Select the album containing the image that you want to crop, if you elected to browse by album.
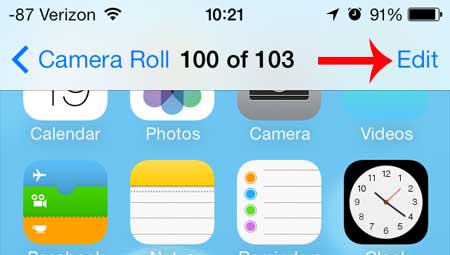
Step 4: Select the thumbnail image of the picture that you want to crop.
Step 5: Touch the Edit button at the top-right corner of the screen.
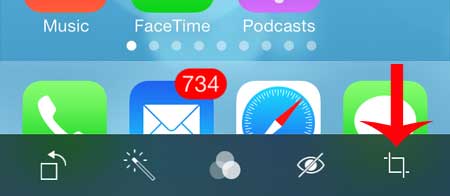
Step 6: Touch the Crop icon at the bottom of the screen.
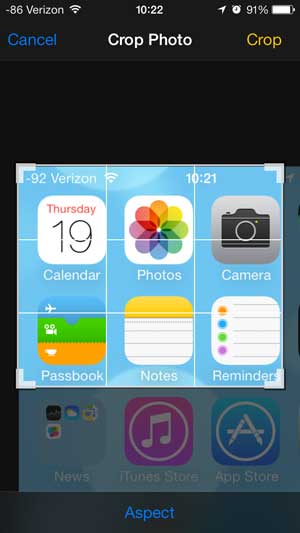
Step 7: Drag the corners of the cropping tool so that they surround the part of the image that you want to crop to.
If you want to use a pre-selected aspect ratio, touch the Aspect option at the bottom of the screen.
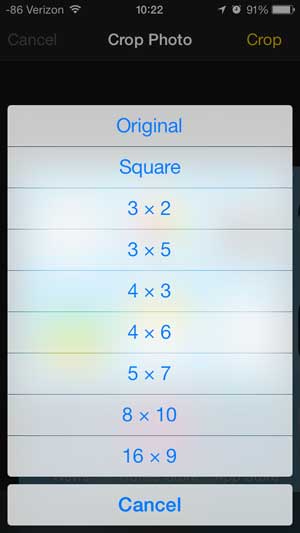
Step 7b: If you selected the Aspect option, select your preferred aspect ratio.
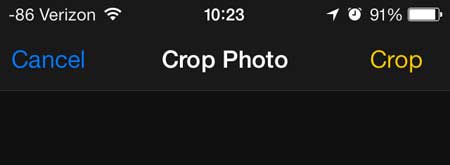
Step 8: You can touch the Cancel button at the top-left of the screen if you don’t want to perform the crop, or you can touch the Crop button if you are happy with the crop and want to save the altered image.
Step 9: Touch the Save button to confirm your decision to crop the image.
Now that you know how ot crop pictures on an iPhone you will be able to perform this and other edits if you have pictures that need a little work. You can also rotate images in iOS 7. Read this article about rotating on the iPad, which is nearly identical to the process on the iPhone.
Additional Sources
After receiving his Bachelor’s and Master’s degrees in Computer Science he spent several years working in IT management for small businesses. However, he now works full time writing content online and creating websites. His main writing topics include iPhones, Microsoft Office, Google Apps, Android, and Photoshop, but he has also written about many other tech topics as well. Read his full bio here.
You may opt out at any time. Read our Privacy Policy