One of these tools lets you crop your images, which is helpful when you need to be able to cut out part of a picture in Powerpoint. Our tutorial below will show you where to find the Powerpoint crop tool and how to use it to keep only the part of the image that you need for your slide.
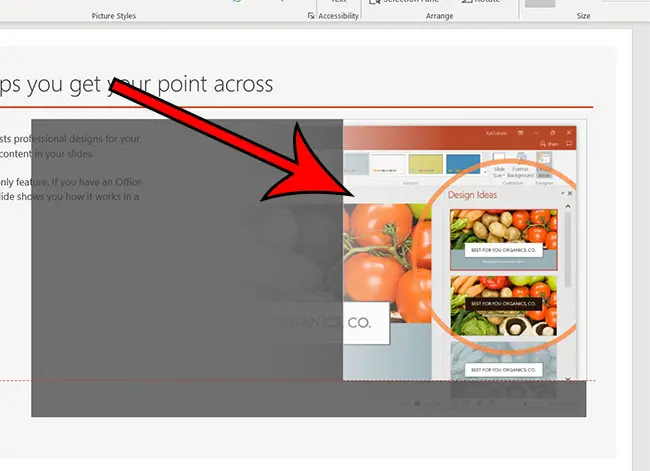
How Do I Cut Out Part of a Picture in Powerpoint?
Our guide continues below with more information to answer the question of how do I cut out part of a picture in Powerpoint, including images of these steps. While there is a tool in Windows called Paint that lets you edit pictures, many users aren’t comfortable in the application, or even know that it exists. Image editing programs like Paint are helpful for performing minor edits, such as cropping a picture. But Microsoft Powerpoint also has a cropping tool that you can use to cut out part of a picture. Our guide below will show you how to select a picture in your Powerpoint presentation then cur out part of that picture using Powerpoint’s image editing capabilities. Read our article on how to circle something in Google Slides if you also use that application and have been looking for a way to draw shapes on your slides.
How to Cut Out Part of a Picture in Powerpoint with the Crop Tool (Guide with Pictures)
The steps in this article were performed in the Microsoft Powerpoint for Office 365 version of the application, but will work in most other recent versions of Powerpoint as well.
Step 1: Open your presentation in Powerpoint.
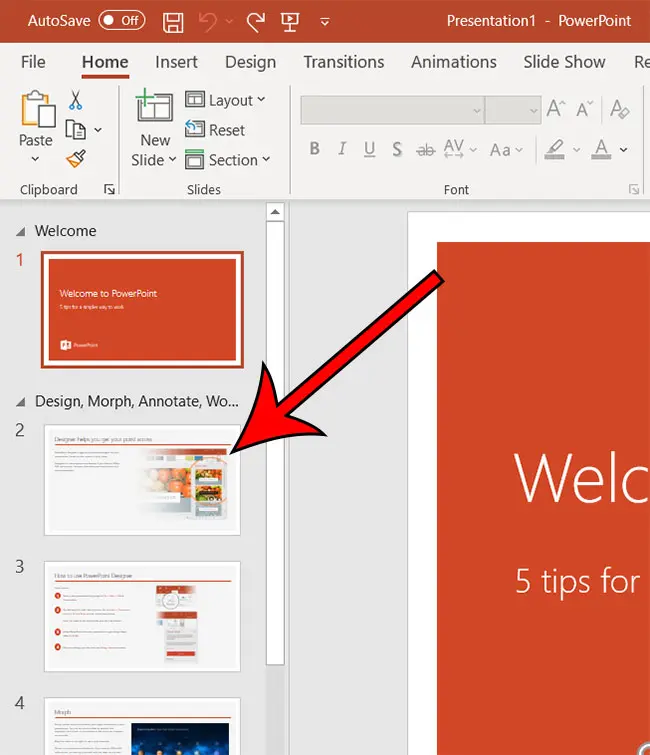
Step 2: Select the slide at the left side of the window that contains the picture you wish to edit.
Step 3: Click on the picture to select it.
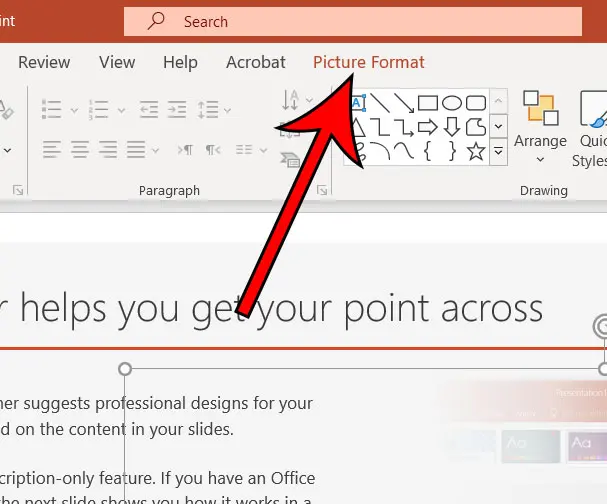
Step 4: Choose the Picture Format tab at the top of the window.
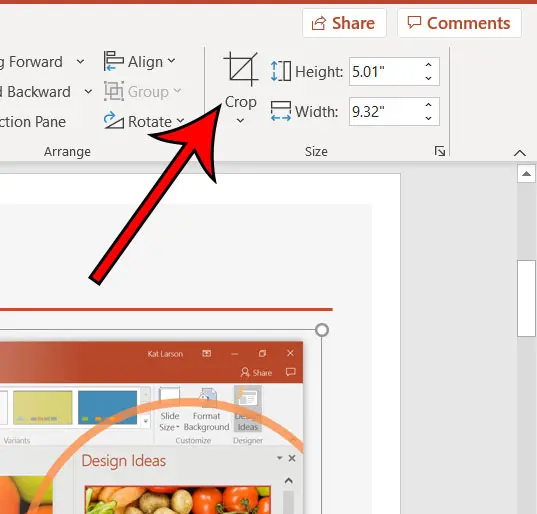
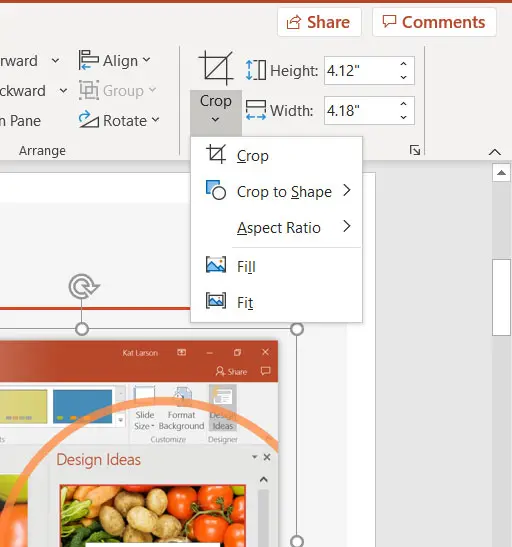
Step 5: Click the Crop button.
Step 6: Drag the black guides around the picture until you have selected the part of the picture to keep.
You can then click on another part of the slide to see how everything will look now that you have cut out part of the picture. Now that you have answered the question of how do I cut out part of a picture in Powerpoint you will be able to easily modify images that you have added to your slide so that you are only showing the relevant part of that image. If you wish to restore the picture to its original size you can click the Crop button again, then drag the black guides back to the original picture borders. Note that if you click the arrow under the Crop button you have the ability to crop in some additional ways, such as to a shape, or to an aspect ratio.
Additional Sources
How to create a check mark in PowerpointHow to make curved text in PowerpointHow to make a Powerpoint slide verticalHow to remove an animation from PowerpointHow to set a picture as a background in Powerpoint
After receiving his Bachelor’s and Master’s degrees in Computer Science he spent several years working in IT management for small businesses. However, he now works full time writing content online and creating websites. His main writing topics include iPhones, Microsoft Office, Google Apps, Android, and Photoshop, but he has also written about many other tech topics as well. Read his full bio here.
You may opt out at any time. Read our Privacy Policy