But some of the more unusual or uncommon options might be more difficult to locate, such as when you need to know how to do hanging indent on Google Docs. Luckily that is something that is available in the application and we will show you where to find it with our tutorial below.
How to Create a Hanging Indent in Google Docs
Our article continues below with additional information on how to do hanging indent on Google Docs, including pictures of these steps. Find out how to remove strikethrough in Google Docs if you have text in a document that has a line through it that you wish to change. A hanging indent is a formatting option in word processing applications like Google Docs and Microsoft Word that will automatically add a left indent to a paragraph while leaving the first line in the original location. It, along with other features like subscript in Google Docs, is among some of the less-used but important options in the application. A regular indentation setting will usually apply the reverse; meaning that the first line indent will be applied off of the left margin instead of the remaining lines in the paragraph. But certain formatting requirements from organizations like the MLA will dictate that specific situations, such as on a works cited page, may require the indent to start on the second line of the paragraph instead. The steps in the guide above use the Google Docs program from the Google Apps suite to let you customize your indentation options and quickly indent your entire paragraph while leaving the first line of a paragraph in place. Find out how to do a reverse image search on an iPhone if you have a picture of a plant or an animal and want to compare it with similar photos online.
How to Put a Hanging Indent in a Google Document (Guide with Pictures)
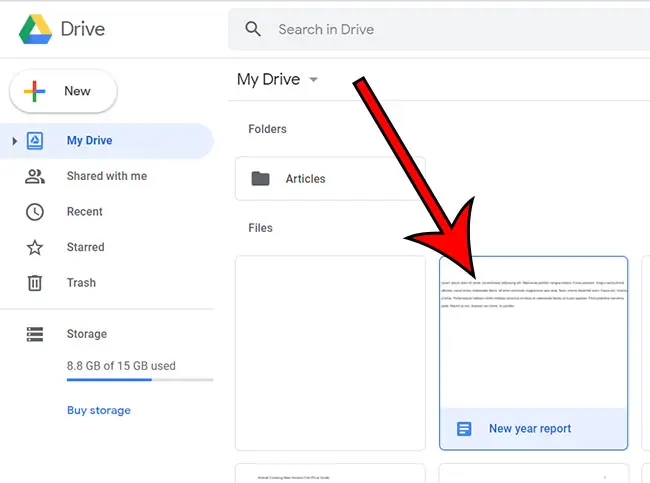
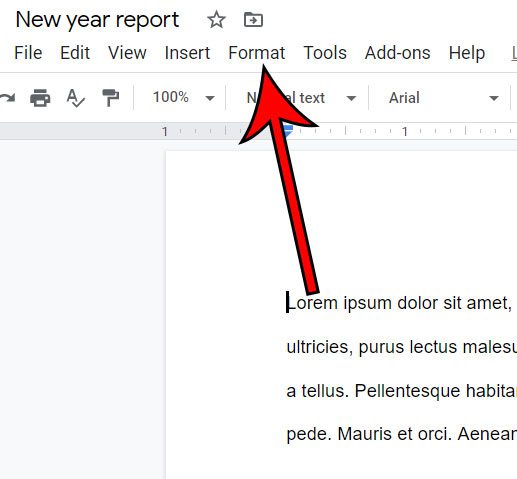
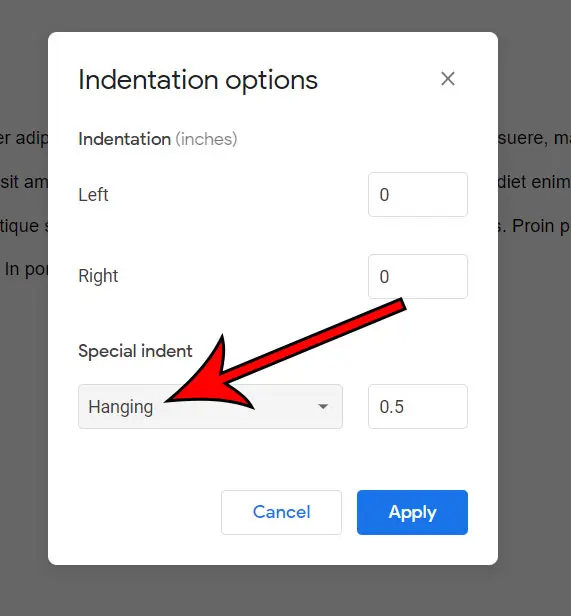
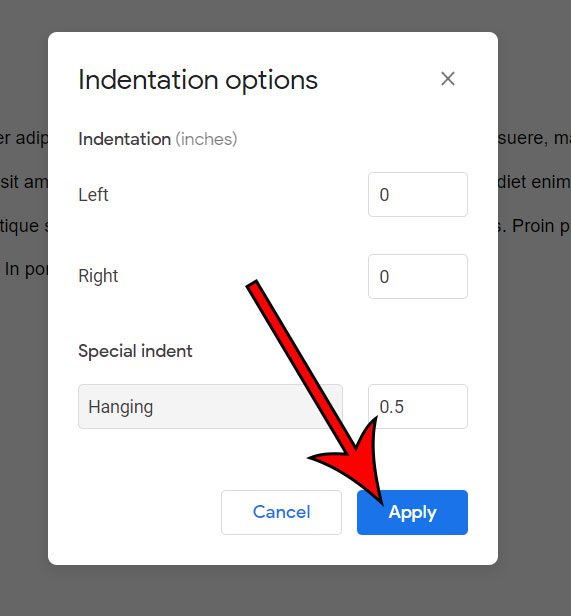
The steps in this article were performed in the desktop version of the Google Chrome Web browser, but will also work in other desktop browsers like Firefox or Safari. You can go directly to https://drive.google.com to access your documents quickly. You can actually click anywhere within the paragraph that you wish to indent. The sizes shown in the image below are in inches, but may be in centimeters based on your geographic location. Now that you know how to do hanging indent on Google Docs you will be able to apply this style of formatting in future documents that you edit in the Web browser version of the application. But if you are working on the mobile app, then things are a bit different. The next section in our guide will discuss how to use hanging indents in the Google Docs iPhone App. You can also check out our how to insert page break in Google Docs tutorial for another way that you can adjust the layout of your document.
How to Create Hanging Indents in Google Docs on an iPhone or Android
The Google Docs app that is available on iPhone and Android devices is surprisingly robust, and includes many of the features that you will find and use in Docs on your computer. Unfortunately one of those options is not a hanging indent, so you need to apply a workaround if you want to accomplish it through the mobile app.
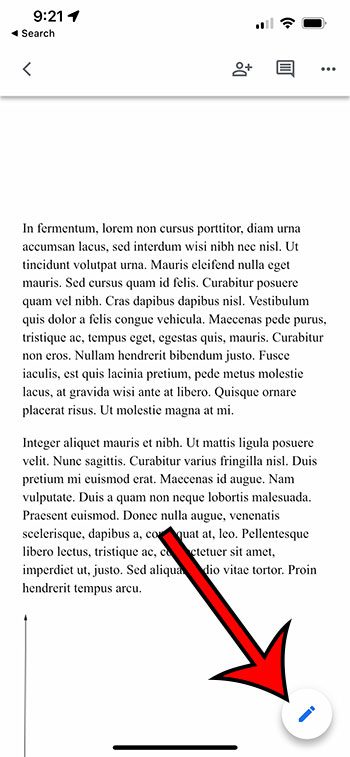
Step 1: Open the Google Docs app and choose the document to edit.
Step 2: Tap on the pencil icon at the bottom-right corner of the screen.
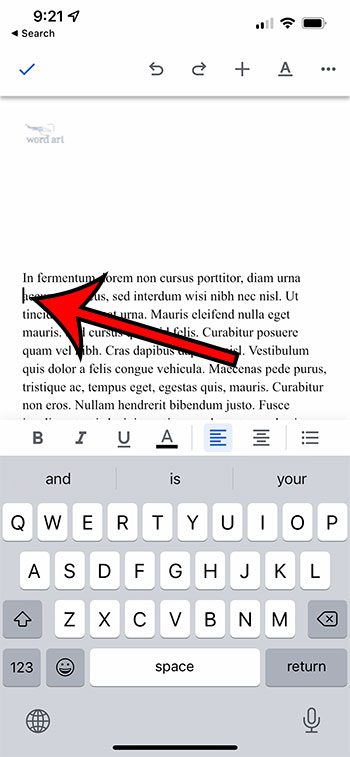
Step 3: Double-tap at the beginning of the second line in the paragraph.
Alternatively, you could place your cursor at the end of the first line, then press “Enter” to start a new line.
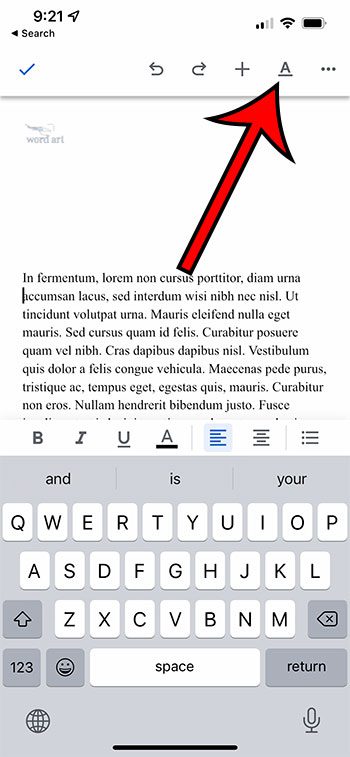
Step 4: Touch the underlined “A” icon at the top of the screen.
Step 5: Select the Paragraph tab.
Step 6: Choose the Right indent option.
You should now have a paragraph in your document that has its first line positioned at the left margin, and the rest of the lines in that paragraph should be right-indented.
More information on How to Add a Hanging Indent in Google Docs
After the hanging indent has been applied you will see a blue triangle in the ruler that indicates the position of the left indent. There will also be a blue rectangle next to it, which is the first line indent marker.If you don’t see the rulers on your document, then you can go to View > Show ruler to enable it.If you need to exercise more margin control over your document, check out the margin settings under File > Page setup.MLA format often requires you to double-space your document as well. That setting is found by going to Format > Line spacing > and choosing the Double option.One other way to create this type of indentation is to select the paragraph that you want to format, then drag the Left indent (the inverted blue triangle) icon in the ruler until it shows the desired size of the indent. You can then drag the First line indent (the small blue rectangle) icon back to the left margin.If you would like to apply this to multiple paragraphs in a Google Doc you simply need to click and drag until all of the desired paragraphs are selected then use either the Indentation options method or the ruler method to apply the hanging indent.
During the process of creating hanging indents you will expand a drop down menu with alignment and indentation options like:
Left alignMiddle alignRight alignIncrease IndentDecrease indent
While the hanging indent option will make it easy for you to indent the second and subsequent lines for multiple citation entries or other sections of your document, these options will allow you to quickly adjust some formatting to mimic the hanging indent appearance.
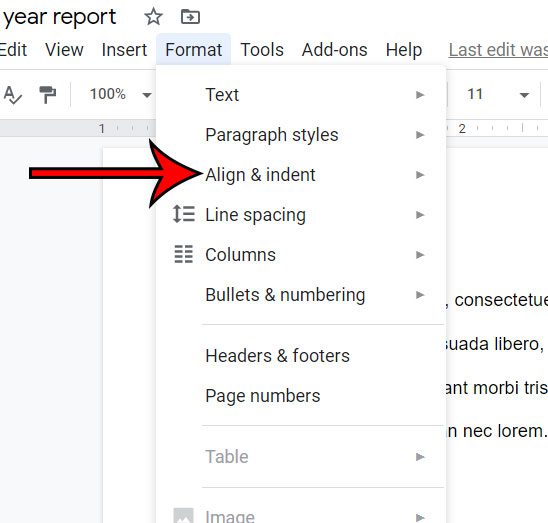
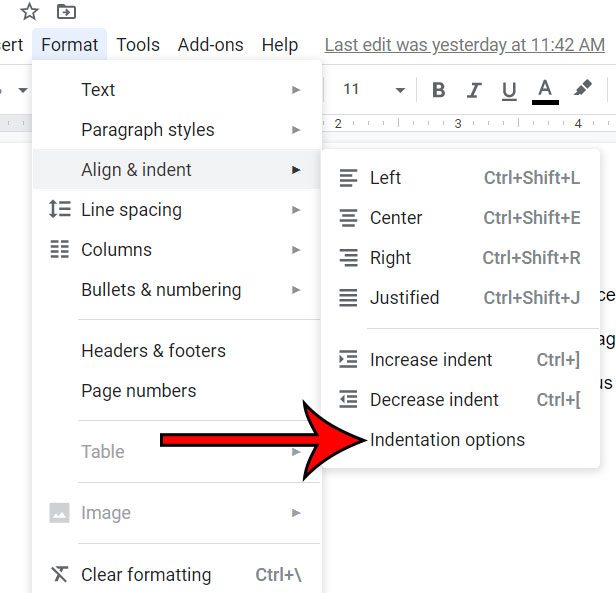
Additional Sources
How to insert a text box in Google DocsHow to add a picture to a header in Google DocsHow to center a table in Google Docs
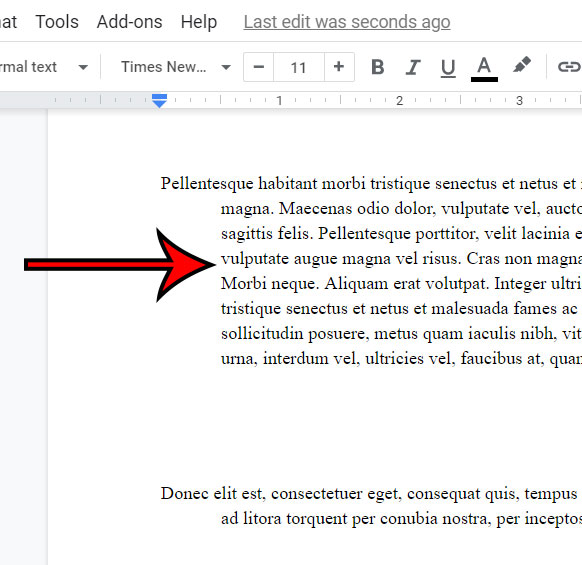
This example of a hanging indent makes it a bit easier to understand what will happen when you apply this formatting, and also helps you to see if that type of spacing and indentation might be useful in different parts of the documents you create. When you create a hanging indent in Google Docs you select the first line of a paragraph, then you follow the steps in our guide above to create the hanging indent. As part of the process, you will be able to specify the amount of space that you would like to use for the hanging indent. To remove a hanging indent in Google Docs you must first click somewhere inside the paragraph that contains the hanging indent. You can then go to Format > Align & Indent > Indentation options, where you will click the Special Indent drop down and choose the None option. You can then click OK to apply the change. There are a number of different style guides that your school or work might use, such as:– APA (American Psychological Association)– MLA (Modern Language Association)– Chicago Manual of Style Each of these style guides incorporates its own citation styles, but it’s fairly common that you will need to indent the first line of your citation, which you can accomplish with the help of a hanging indent in Google Docs. If you are creating a bibliography for your document as well, then the formatting of your cited works might also necessitate the use of hanging indents. While you can achieve a similar look with blank spaces, you will find that it’s much easier to utilize the hanging indent style to ensure that everything is done correctly. After receiving his Bachelor’s and Master’s degrees in Computer Science he spent several years working in IT management for small businesses. However, he now works full time writing content online and creating websites. His main writing topics include iPhones, Microsoft Office, Google Apps, Android, and Photoshop, but he has also written about many other tech topics as well. Read his full bio here.
You may opt out at any time. Read our Privacy Policy