But eventually you might start running out of storage space, and the files that are in your Trash could be using a lot of that space. So once you are certain that the files in your trash are ones that you will not need again in the future, you can follow these steps to empty the trash on your MacBook.
How to Delete the Items in the Trash on a MacBook Air
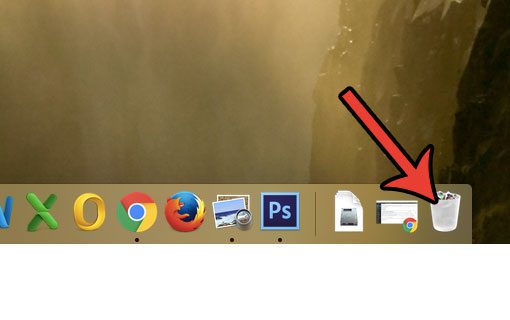
The steps below were performed on a MacBook Air in macOS 10.12.3. Once you complete these steps all of the items in your trash will be deleted permanently. Step 1: Double-click the Trash icon in your dock.
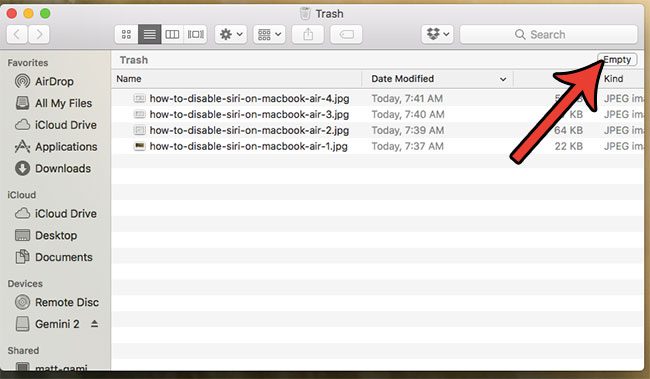
Step 2: Click the Empty button.
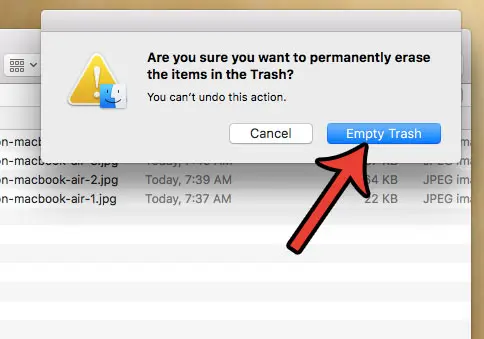
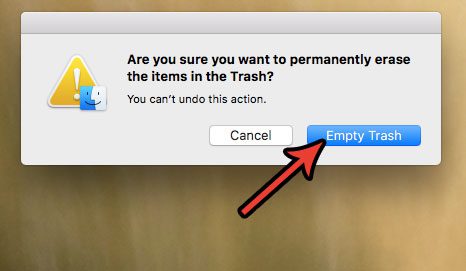
Step 3: Click the Empty Trash button to permanently delete the files in your trash.
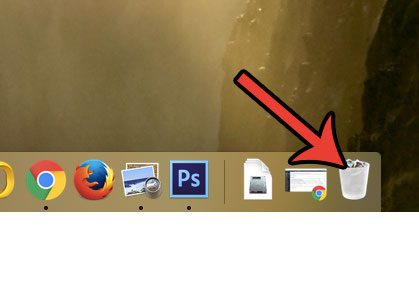
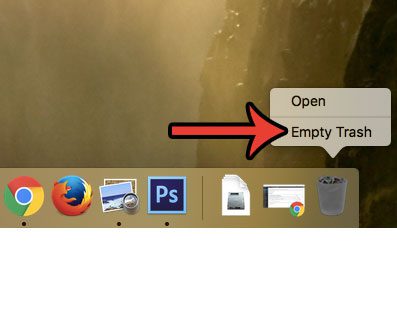
Note that you can also empty your trash in another way. Locate the Trash icon again.
Then hold down the control key on your keyboard, click the Trash icon, then click the Empty Trash button.
Click the Empty Trash button again to confirm that you want to empty the files in the trash on your MacBook Air.
Emptying the trash on your computer is a good way to free up some storage space, but there are a number of other places where you can delete files that you don’t need any more. Learn more about removing junk files from a MacBook Air and see how you can free up additional GB of space that you can use for other files. After receiving his Bachelor’s and Master’s degrees in Computer Science he spent several years working in IT management for small businesses. However, he now works full time writing content online and creating websites. His main writing topics include iPhones, Microsoft Office, Google Apps, Android, and Photoshop, but he has also written about many other tech topics as well. Read his full bio here.
You may opt out at any time. Read our Privacy Policy