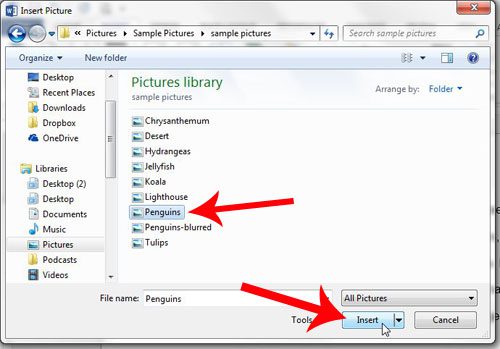
This can be accomplished with the use of a simple utility that allows you to search your computer, locate the picture you want, then insert into a chosen location in the document. Our series of steps below will show you how to complete this task. Find out how to put a picture on Google if you are switching to their apps from Microsoft and want a simple place to access your image files.
Adding a Picture to a Document in Word 2013
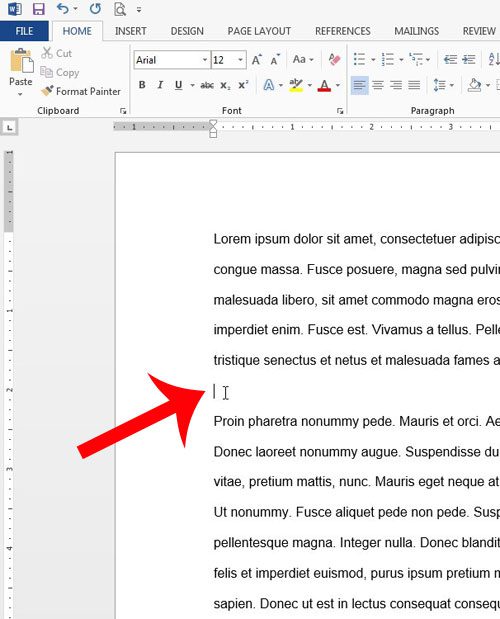
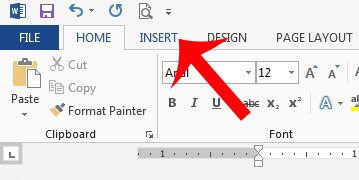
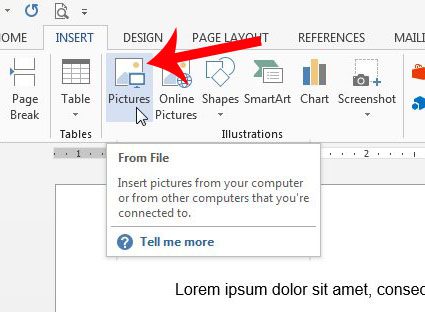
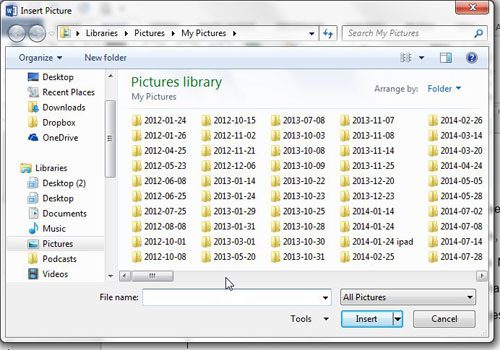
The steps below will assume that the picture you want to add to your document is stored on your computer. Additionally, you will be inserting the picture as part of your main document. If you would rather add your picture as a background image, then you can read this article instead. Step 1: Open your document in Microsoft Word 2013. Step 2: Click at the location in your document where you want to insert the picture. Step 3: Click the Insert tab at the top of the window. Step 4: Click the Pictures button in the Illustrations section of the navigational ribbon at the top of the window. Step 5: Browse to the location on your computer where the picture is located. Step 6: Click the picture that you want to insert, then click the Insert button at the bottom of the window. If your image is too large or too small, then you can drag one of the corners to make the image smaller or larger. You can read more articles here about Word 2013 that will show you how to accomplish various tasks within the program. After receiving his Bachelor’s and Master’s degrees in Computer Science he spent several years working in IT management for small businesses. However, he now works full time writing content online and creating websites. His main writing topics include iPhones, Microsoft Office, Google Apps, Android, and Photoshop, but he has also written about many other tech topics as well. Read his full bio here.
