Adding borders to your cells gives you more control over the appearance of your cell boundaries. You can apply borders on any of your cell sides, and you can choose the color for the borders. But you might have a series of cells with borders where you would like the bottom border to be thicker than the rest of them. Fortunately you can make a thicker bottom border in Excel by using the steps outlined below.
How to Make a Thicker Bottom Cell Border in Excel
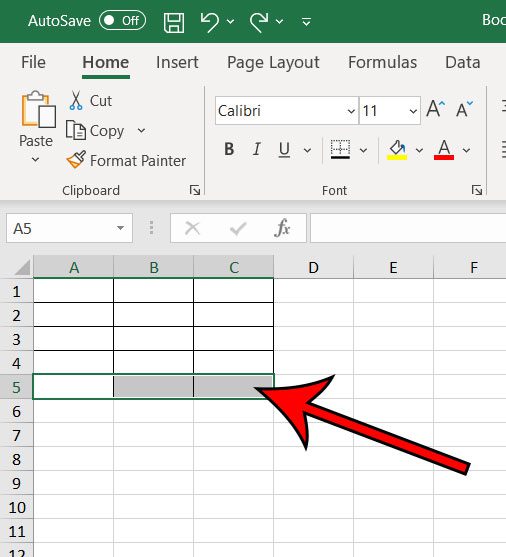
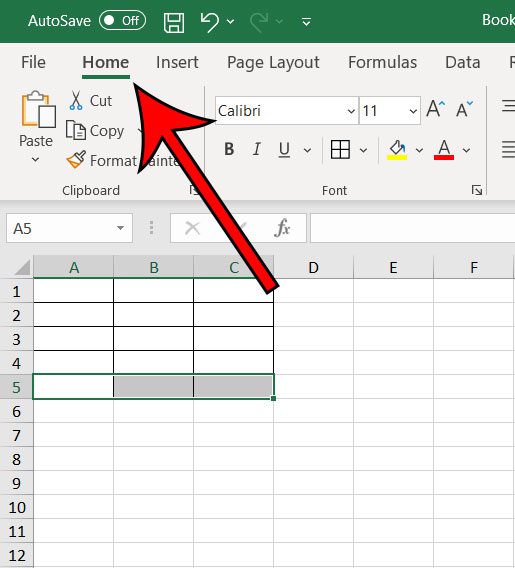
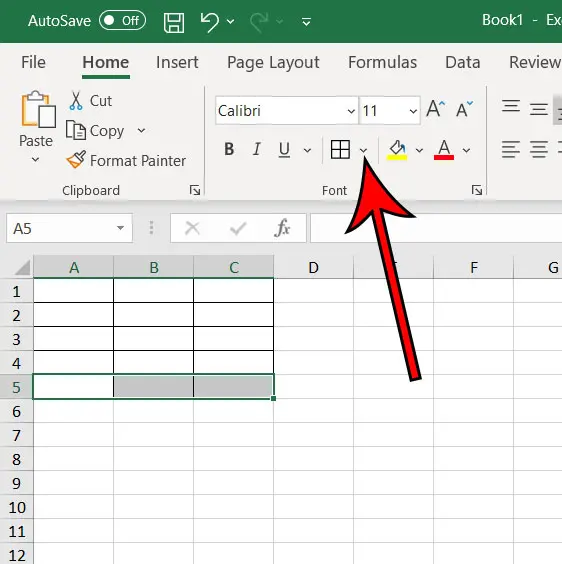
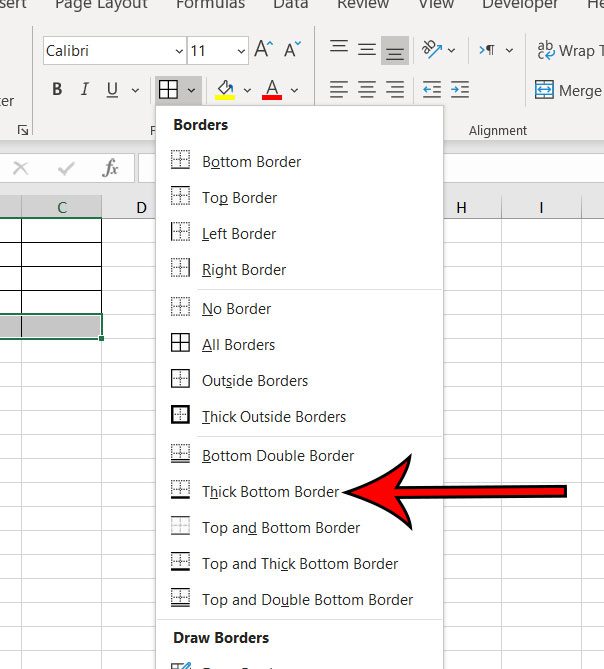
The steps in this article were performed in the desktop version of Microsoft Excel for Office 365, but will also work in most other versions of Excel as well. Step 1: Open your file in Excel. Step 2: Select the cells to which you would like to apply a thicker bottom border. Step 3: Choose the Home tab at the top of the window. Step 4: Click the down arrow to the right of the Border button in the Font section of the ribbon. Step 5: Select the Thick Bottom Border option. Note that Excel will only apply this thicker bottom border to the bottom-most row of selected cells. Additionally, if you choose the Thick Bottom Border option on a cell that doesn’t have an existing border, then Excel will only add that thick bottom border. It won’t add the rest of the borders on the other sides of the cell.
See also
How to subtract in ExcelHow to sort by date in ExcelHow to center a worksheet in ExcelHow to select non-adjacent cells in ExcelHow to unhide a hidden workbook in ExcelHow to make Excel vertical text
After receiving his Bachelor’s and Master’s degrees in Computer Science he spent several years working in IT management for small businesses. However, he now works full time writing content online and creating websites. His main writing topics include iPhones, Microsoft Office, Google Apps, Android, and Photoshop, but he has also written about many other tech topics as well. Read his full bio here.
You may opt out at any time. Read our Privacy Policy


