But if you have been able to find your friends and they haven’t been able to find you, or if others are finding you and you would prefer them not to, then you will need to change the status of your profile. Our guide below will show you how to switch your Apple Music profile from private to public.
How to Change Who Can View Your Apple Music Profile
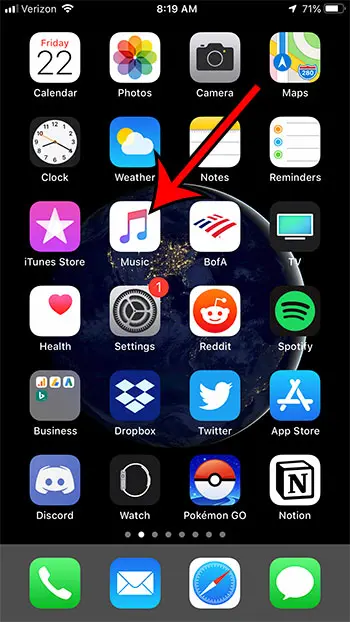
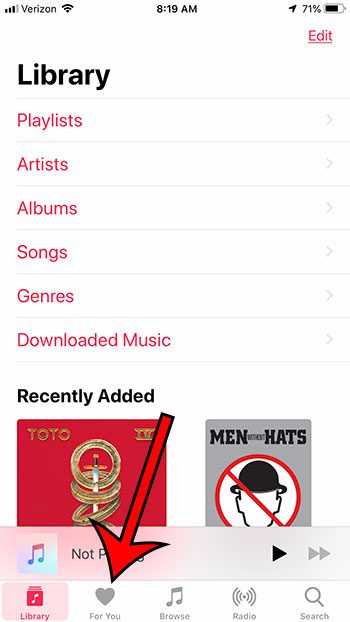
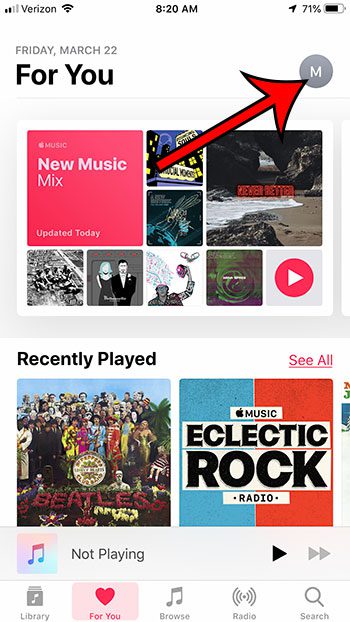
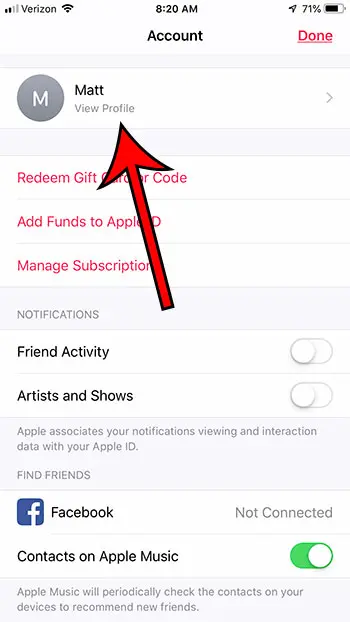
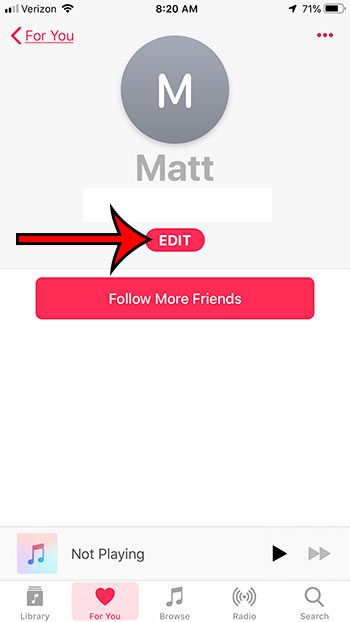
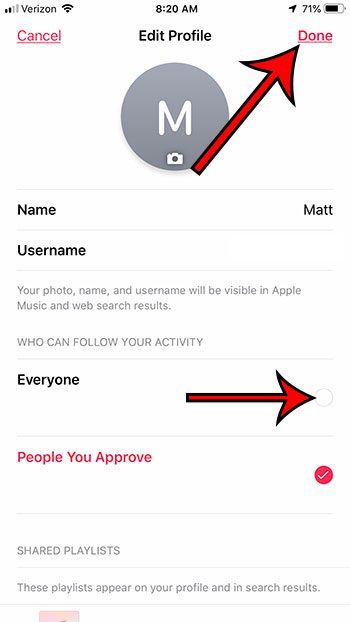
The steps in this article were performed on an iPhone 7 Plus in iOS 12.1.4. Note that this guide will assume that you have already created an Apple Music profile. Once you’ve completed these steps and made your profile public, you can start editing your playlists to remove unwanted songs. Step 1: Open the Music app. Step 2: Choose the For You tab at the bottom of the screen. Step 3: Touch your profile icon at the top-right of the screen. Step 4: Tap the View Profile button at the top of the screen. Step 5: Touch the Edit button under your username. Step 6: Choose the option under Who Can Follow Your Activity, then tap the Done button at the top-right of the screen. If you don’t want to have a profile at all, you can scroll to the bottom of the menu in step 6 and tap the Delete Profile button. Not using your Apple Music subscription as much as you thought? Find out how to cancel an Apple Music subscription if it doesn’t seem to be worth the money. After receiving his Bachelor’s and Master’s degrees in Computer Science he spent several years working in IT management for small businesses. However, he now works full time writing content online and creating websites. His main writing topics include iPhones, Microsoft Office, Google Apps, Android, and Photoshop, but he has also written about many other tech topics as well. Read his full bio here.
