Our guide below will show you how to adjust the Powerpoint 2013 settings so that all of your slideshows will print at high quality by default.
Printing at High Quality in Powerpoint 2013
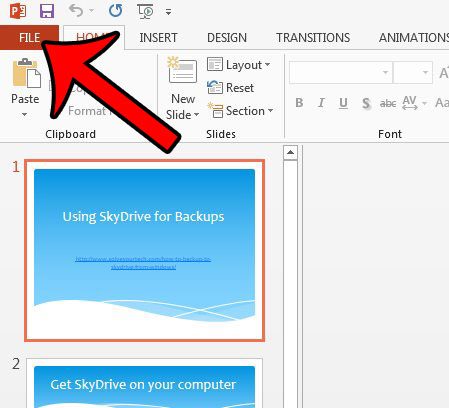
The steps in the article below will show you how to modify the default settings for Powerpoint 2013 so that all of your presentations print at high quality. If you wish to print a presentation at a lower quality, then you can do so by clicking the Full Page Slides button under Settings on the Print menu, then clicking the High Quality option to turn it off. Here is how to print all presentations at high quality in Powerpoint 2013 – The same steps are shown below with pictures – Step 1: Open Powerpoint 2013. Step 2: Click the File tab at the top-left corner of the window.
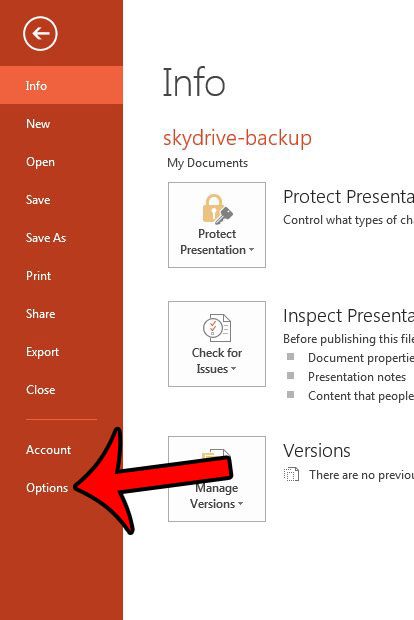
Step 3: Click the Options button at the bottom of the column on the left side of the window.
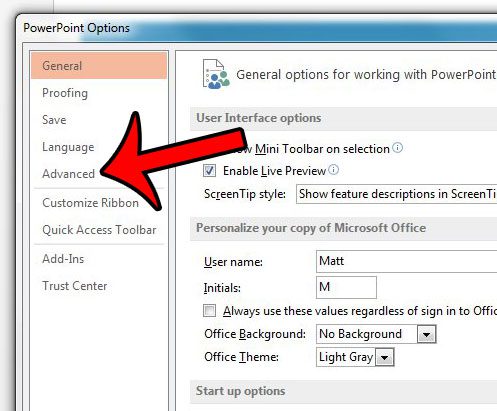
Step 4: Click Advanced in the column at the left side of the Powerpoint Options window.
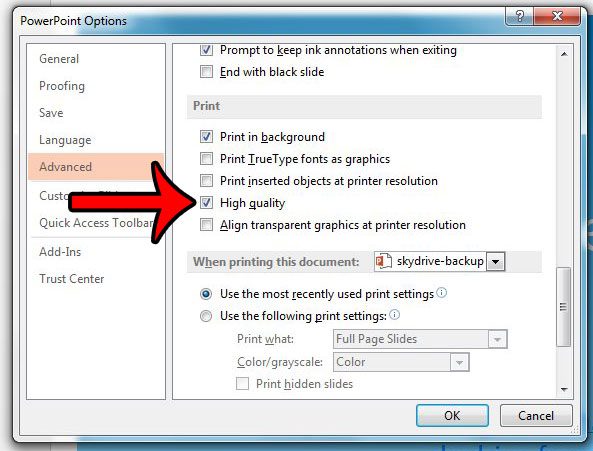
Step 5: Scroll down to the Print section of the menu, check the box to the left of High quality, then click the OK button at the bottom of the window to close the window and apply your changes.
Is there a single slide in your presentation that you want to share without sending the whole slideshow? Find out how to share an individual slide in Powerpoint 2013. After receiving his Bachelor’s and Master’s degrees in Computer Science he spent several years working in IT management for small businesses. However, he now works full time writing content online and creating websites. His main writing topics include iPhones, Microsoft Office, Google Apps, Android, and Photoshop, but he has also written about many other tech topics as well. Read his full bio here.
You may opt out at any time. Read our Privacy Policy