The steps in our guide below will show you how to adjust the setting that controls the printing of the date and time in that location. We will be using a method that modifies a setting through the Print menu in Powerpoint 2013, so you can then immediately test the changes to ensure that you are achieving the desired result. Powerpoint makes it easy for you to generate your slideshow in other file types. Our guide on how to download Powerpoint with speaker notes will show you how to do this as a PDF.
How to Remove the Date and Time from Handouts in Powerpoint 2013
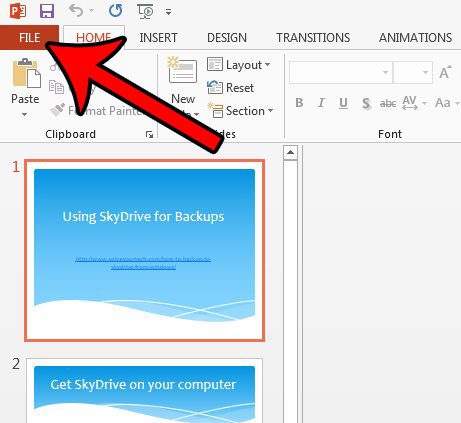
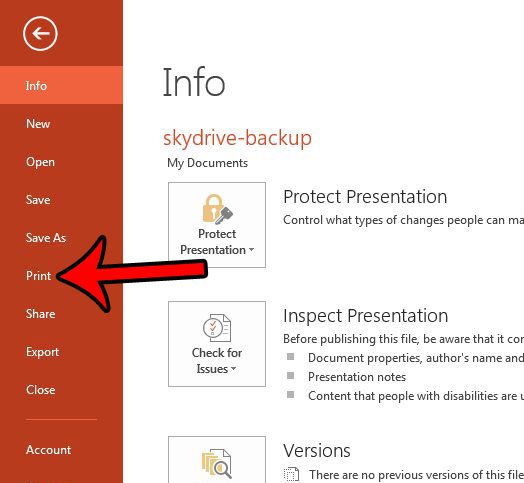
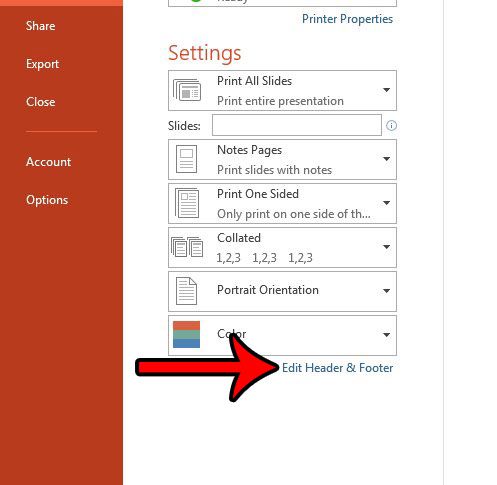
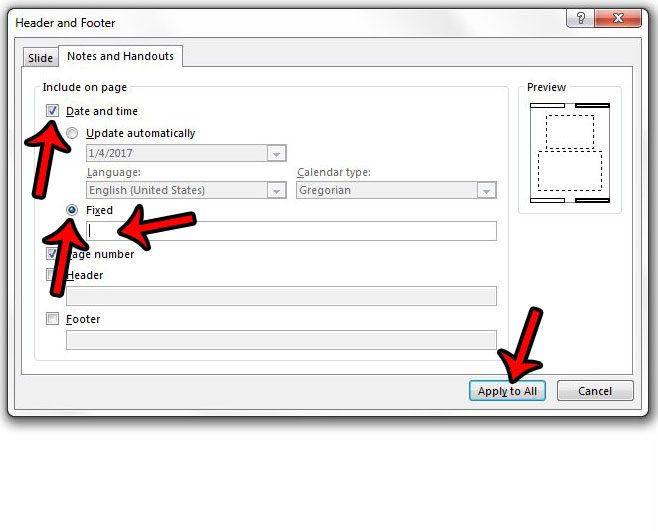
The steps below will assume that your Powerpoint handouts are currently printing with the date and time displayed at the top of the page. These steps will show you how to remove those elements from the handout. Step 1: Open the slideshow in Powerpoint 2013. Step 2: Click the File tab at the top-left corner of the window. Step 3: Click the Print tab at the left side of the window. Step 4: Click the Edit Header & Footer link below the print settings. Step 5: Check the box to the left of Date and time, select the Fixed option, delete the contents of that field, then click the Apply to All button at the bottom of the window. You can then click the Print button to print your handouts without a date and time. Do you need to change the size or orientation of slides in your Powerpoint presentation, but are having difficulty finding that setting? Find out where the Page Setup menu is located in Powerpoint 2013 so that you can make changes to your slideshow that are found on that menu. After receiving his Bachelor’s and Master’s degrees in Computer Science he spent several years working in IT management for small businesses. However, he now works full time writing content online and creating websites. His main writing topics include iPhones, Microsoft Office, Google Apps, Android, and Photoshop, but he has also written about many other tech topics as well. Read his full bio here.


