How to Change the Default Margins in Word 2010
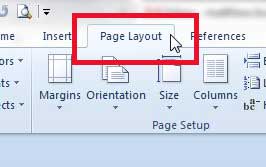
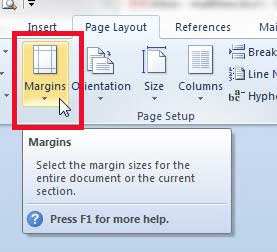
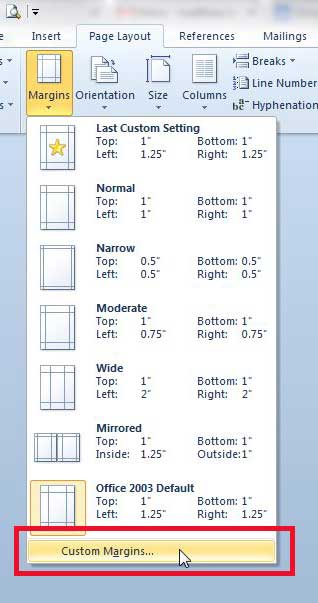
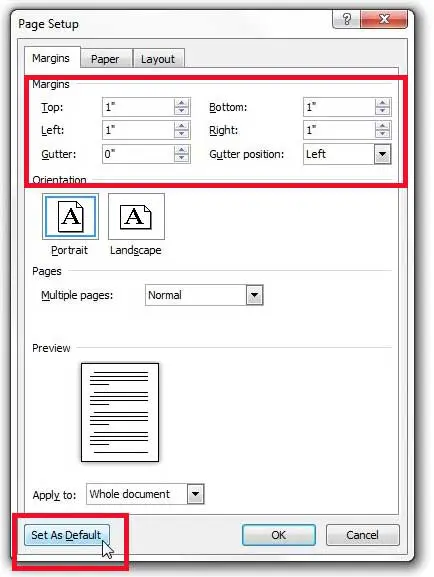
Once you have applied your default margins following the steps below, they will be applied for any new documents that you create in Word. If you find that the default margins need to be changed again, you can simply follow these steps again to do so. Step 1: Launch Microsoft Word 2010. Step 2: Click the Page Layout tab at the top of the window. Step 2: Click the Margins button. Step 3: Click the Custom Margins option at the bottom of the menu. Step 4: Enter your desired default margin values into the fields at the top of the window, then click the Set as Default button at the bottom of the window.
See also
How to insert a check mark in Microsoft WordHow to do small caps in Microsoft WordHow to center text in Microsoft WordHow to merge cells in Microsoft Word tablesHow to insert a square root symbol in Microsoft Word
After receiving his Bachelor’s and Master’s degrees in Computer Science he spent several years working in IT management for small businesses. However, he now works full time writing content online and creating websites. His main writing topics include iPhones, Microsoft Office, Google Apps, Android, and Photoshop, but he has also written about many other tech topics as well. Read his full bio here.
You may opt out at any time. Read our Privacy Policy