However, depending upon the complexity of the program or the difficulty of the task, this may not be feasible. The second option is to use a series of screen captures to highlight a screen or part of a screen that you are referencing. However, if the task is long, there might be too many pictures. Your final option is to perform a screen video capture, which is a video of the actions you are performing on your computer. This will show the entire process from start to finish, and you can even eliminate the need to send them the video by uploading it to YouTube and simply copying and pasting a link.
Download Camstudio to Perform Your Screen Video Capture
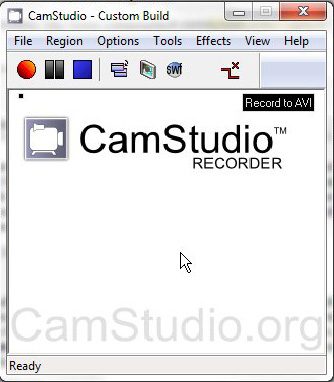
There are numerous programs that you can use to record video directly from your computer screen, but there are none that are better or simpler to use than Camstudio. Camstudio is completely free, and comes from a trusted developer that has been updating the program for years. To acquire the software, simply click this link, scroll down to the green Sourceforge download link under Latest Version, then click it to save the file to your computer. Note that you will be redirected to a SourceForge page where the download will start automatically. Double-click the downloaded file, then follow the prompts to complete the installation. The program should start automatically once the installation has completed but, if not, you can launch it by clicking the Start button at the bottom-left corner of the screen, then clicking All Programs, followed by the Camstudio folder, then the Camstudio link. This will open a new window that looks like the image below. To prepare the program to perform a screen video capture you will then need to specify a few settings within the program.
Preparing Camstudio to Perform a Screen Video Capture
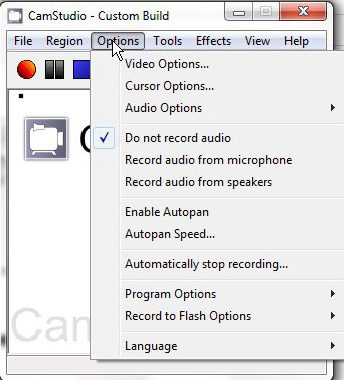
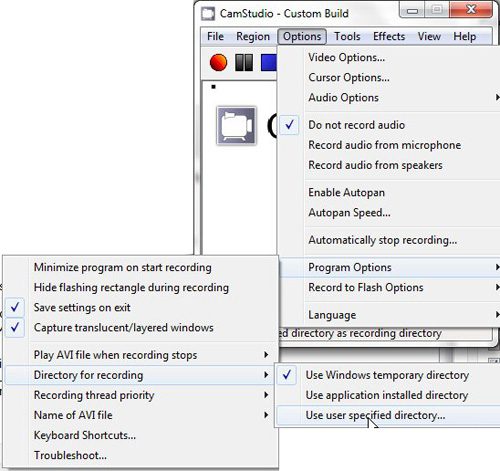
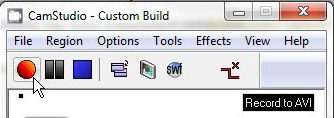
Click the Region link at the top of the window, then choose the size of the video that you want to record on your screen. The default option is Full Screen, which will record everything happening on your screen. However, this can result in a very large video size. I personally prefer to select the Region option, which allows me to select the size of the video I am recording before the recording starts. The next setting to concern yourself with is the Options link at the top of the window. This screen includes an option for you to specify whether to record audio or not. Additionally you can click Cursor Options to specify how the program handles any occurrences of your mouse cursor appearing in the video. The final item on the Options menu that you should set is found by clicking Program Options from the Options menu, then Directory for recording, then finally Use user specified directory. At this point you can specify the folder on your computer where the recorded videos are saved. Now that you have set up Camstudio to perform a screen video capture, you can begin using the program. Click the red Record button at the top of the window. If you elected to use the Region setting from the Region menu, then you will next need to specify the video window size that will be recorded. If you selected any of the other region options, then the recording will begin right after you click the Record button. Camstudio will continue to perform your screen video capture until you click the blue Stop button. The recorded video will be saved to the directory you specified earlier. You can view the created AVI file in a program compatible with that file type, such as Windows Live Movie Maker or Quicktime. I typically open the recorded video with Windows Live Movie Maker because it allows me to make any edits that the video might need before I upload it to YouTube. After receiving his Bachelor’s and Master’s degrees in Computer Science he spent several years working in IT management for small businesses. However, he now works full time writing content online and creating websites. His main writing topics include iPhones, Microsoft Office, Google Apps, Android, and Photoshop, but he has also written about many other tech topics as well. Read his full bio here.


