Configure Sleep Settings in Windows 7
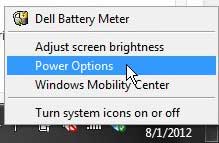
Windows 7 laptop computers have a combination of settings that you can select from called “power plans.” Some examples of power plans are “Balanced” and “High Performance”. You can adjust the settings in these plans, however, so that they are more in line with your own needs. One of the options that you can set is the amount of time of inactivity after which Windows 7 will automatically put the computer to sleep. Step 1: Right-click the battery icon in the system tray at the bottom-right corner of the screen, then click Power Options.
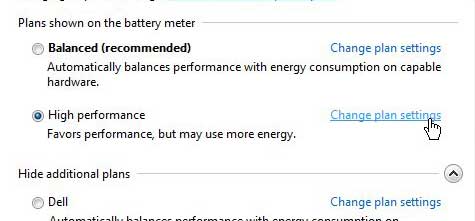
Step 2: Click the blue Change plan settings link to the right of your currently selected power plan. If you regularly use more than one plan and want to change the sleep settings for each plan, then you will need to repeat these steps for each plan.
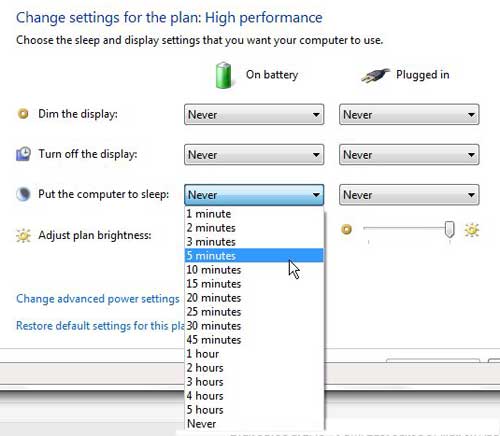
Step 3: Click the drop-down menu to the right of Put the computer to sleep, then click the Never option. If you want to stop the computer from going to sleep both when it is running on battery power and when plugged into an outlet, then repeat this step for the other drop-down menu as well.
Step 4: Click the Save changes button at the bottom of the window. After receiving his Bachelor’s and Master’s degrees in Computer Science he spent several years working in IT management for small businesses. However, he now works full time writing content online and creating websites. His main writing topics include iPhones, Microsoft Office, Google Apps, Android, and Photoshop, but he has also written about many other tech topics as well. Read his full bio here.